Misc Tips
Here's some tips for using Morea to design HI-DSI workshops.
Skim the guide
It's important that you have a basic understanding of how Morea works. We recommend that you skim through the "Reference" section of the Instructor Guide (see the sidebar at left for links). Skimming through the Reference section will give you a sense for where to go for help if you need it later during development of your workshop.
Understand workshop "anatomy"
It can be helpful to take an existing module and examine all of the files in its associated directory and the resulting user interface. There is a one-to-one correspondance between files and UI elements.
If you are adapting a workshop in Software Carpentries format to Morea, then it can be helpful to take a look at the HPC workshop for an example:
HPC Workshop (Software Carpentry format):
HPC Workshop (Morea format):
Software Carpentry workshops are different from HI-DSI workshops
While we're talking about Software Carpentry workshops, it is important to be aware that you can't simply transliterate an SC workshop into Morea format. There are two principal reasons:
- Software Carpentry workshops are generally designed for individuals to work on at their own pace without any guidance. HI-DSI workshops should be designed for small groups to work on with guidance by an instructor.
- Software Carpentry workshops are "asynchronous" and can require many hours of work to complete. HI-DSI workshops are "synchronous" and are constrained to two hours.
So, while Software Carpentry workshops can be a source of high quality material, it will need extensive redesign to fit the constraints of the HI-DSI workshop format.
Use heading conventions
When creating a reading or experience, our convention is to start the contents of each page with a title. To do this in markdown, you start a line with the # element, followed by a space, followed by the title of the page. This creates the equivalent of an HTML <h1> element, for those who know HTML.
In general, only the title should use the # markdown element. Subsequent parts of the page should be "subsections", so they should be delineated using the ## markdown element, or ###, and so forth.
Make images responsive
A "responsive" image is one that automatically resizes itself to fit within the width of the browser window.
To make it easy to create responsive images, the Change-HI Morea site has an "include" file called figure.html. If you search within your local copy of the change-hi.github.io repository for the string "figure.html", you can find many examples of its use.
For a couple of examples, see the HPC Workshop Deep Learning Page. The first image on that page is responsive, and it was created using the following call to figure.html:
{% include figure.html url="" max-width="50%" file="/morea/hpc/fig/ood_form.png" alt="Connect to cluster" caption="" %}
Use files as templates
Rather than try to write a new Reading, Outcome, Experience, or Assessment from scratch, it's far easier to make a copy of a pre-existing file and then edit it.
So, look for similar files in other modules, and copy them over.
Note: You will always need to change the morea_id field! Otherwise Morea will terminate with an error that a duplicate ID has been found.
Make module images square
In many cases, the module you are implementing already has a module image. But if not, you want to make it square.
In your module definition file, you will see a module_icon_url property in the front matter. For example:
morea_icon_url: /morea/introduction/introduction.jpg
To ensure that those images look good, please make sure to crop them into squares (I.e. a 1:1 aspect ratio) and ensure that they are at least 200 pixels wide.
Reuse Outcomes and/or Readings
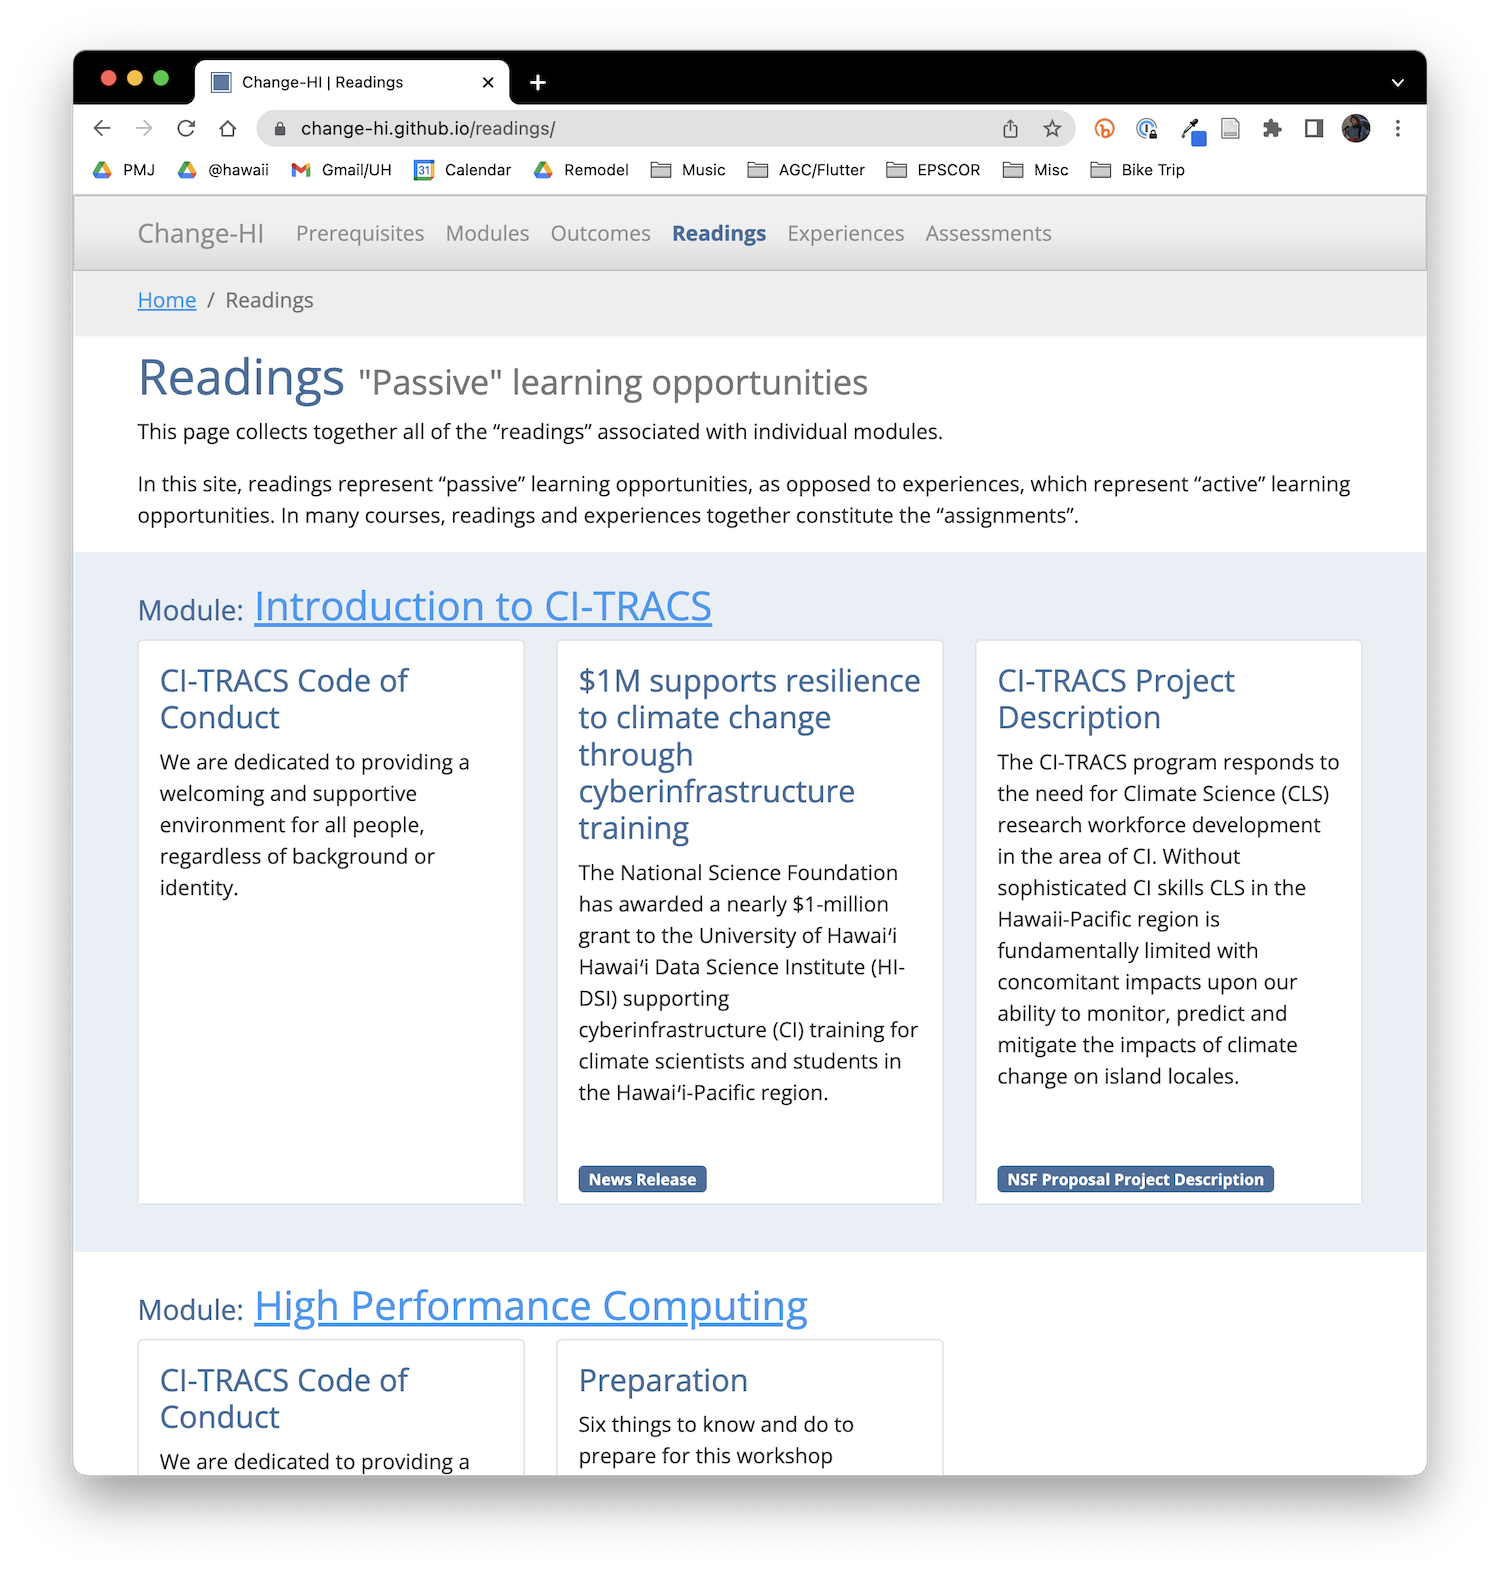
When developing your workshop, it is worth taking a look at the already existing Outcomes and Readings. You can see the full list by navigating to the Change-HI Outcomes page and the Change-HI Readings page in the navbar. For example:
While you almost never want to reuse Experiences or Assessments, since they will be very specific to your workshop, you might often want to reuse Readings (i.e. background information) or Outcomes (since a high-level Outcome could apply to multiple workshops).
Use admonitions
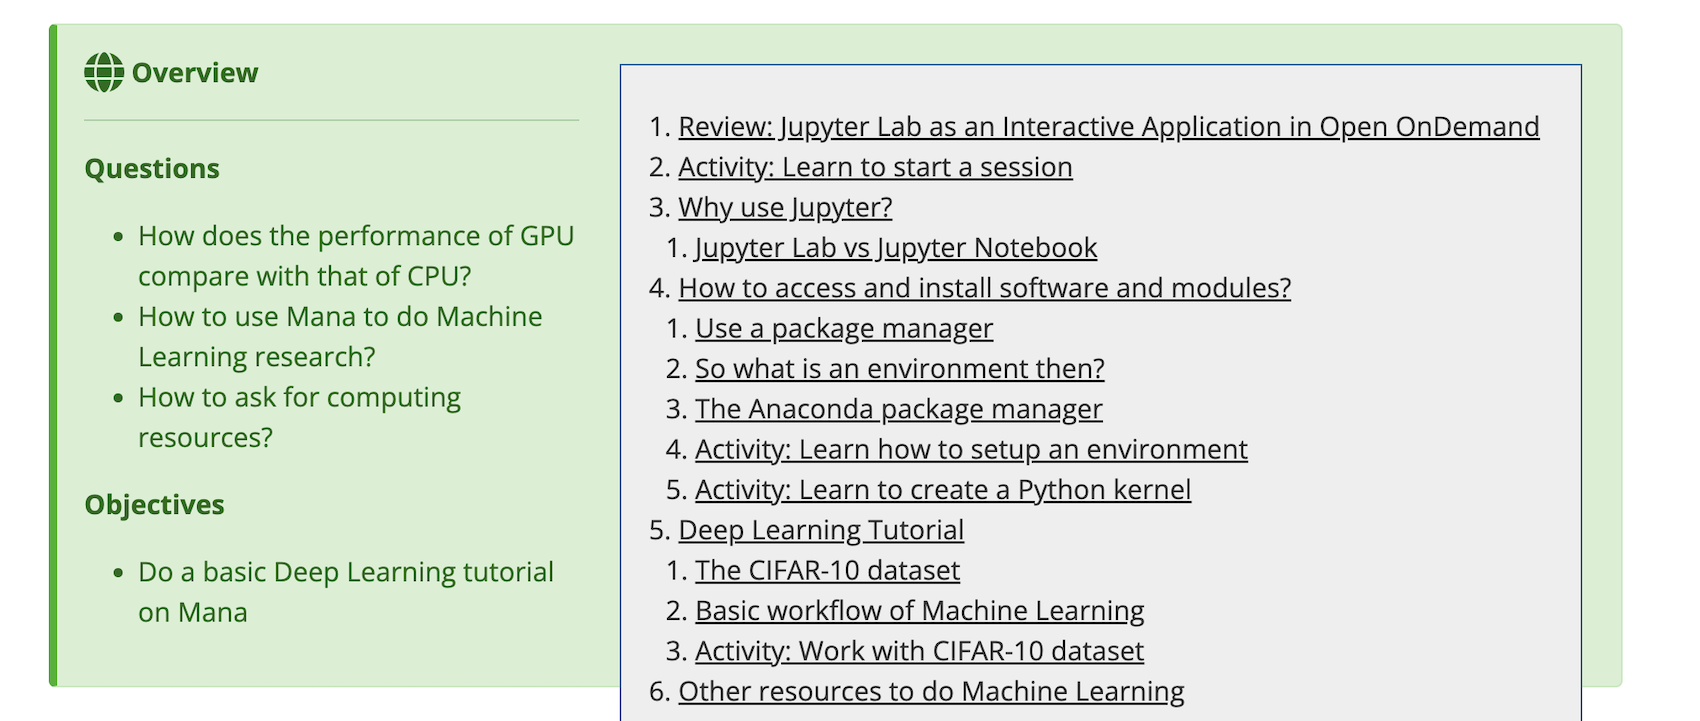
Morea provides admonitions (a.k.a. callouts). The HPC workshop tutorial section on Deep Learning CPU vs GPU provides a nice example of the various forms of admonitions and how they can be used in a workshop tutorial. Let's look at a few examples:
Success for overview
To begin, the section starts with the table of contents (enabled by setting morea_enable_toc: true in the front matter), followed by the "success" admonition to provide overview information:
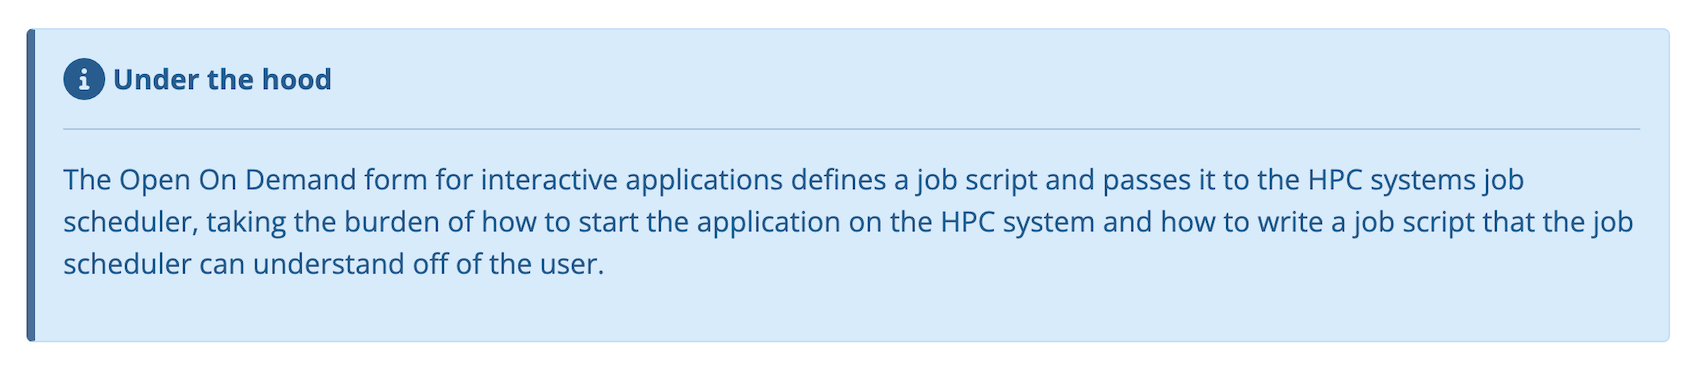
Info for sidebars
Later on, the tutorial uses the "info" admonition to provide a "sidebar" of information:
Secondary for activities
To distinguish a "hands on activity" from reading material, the tutorial uses the "secondary" admonition:
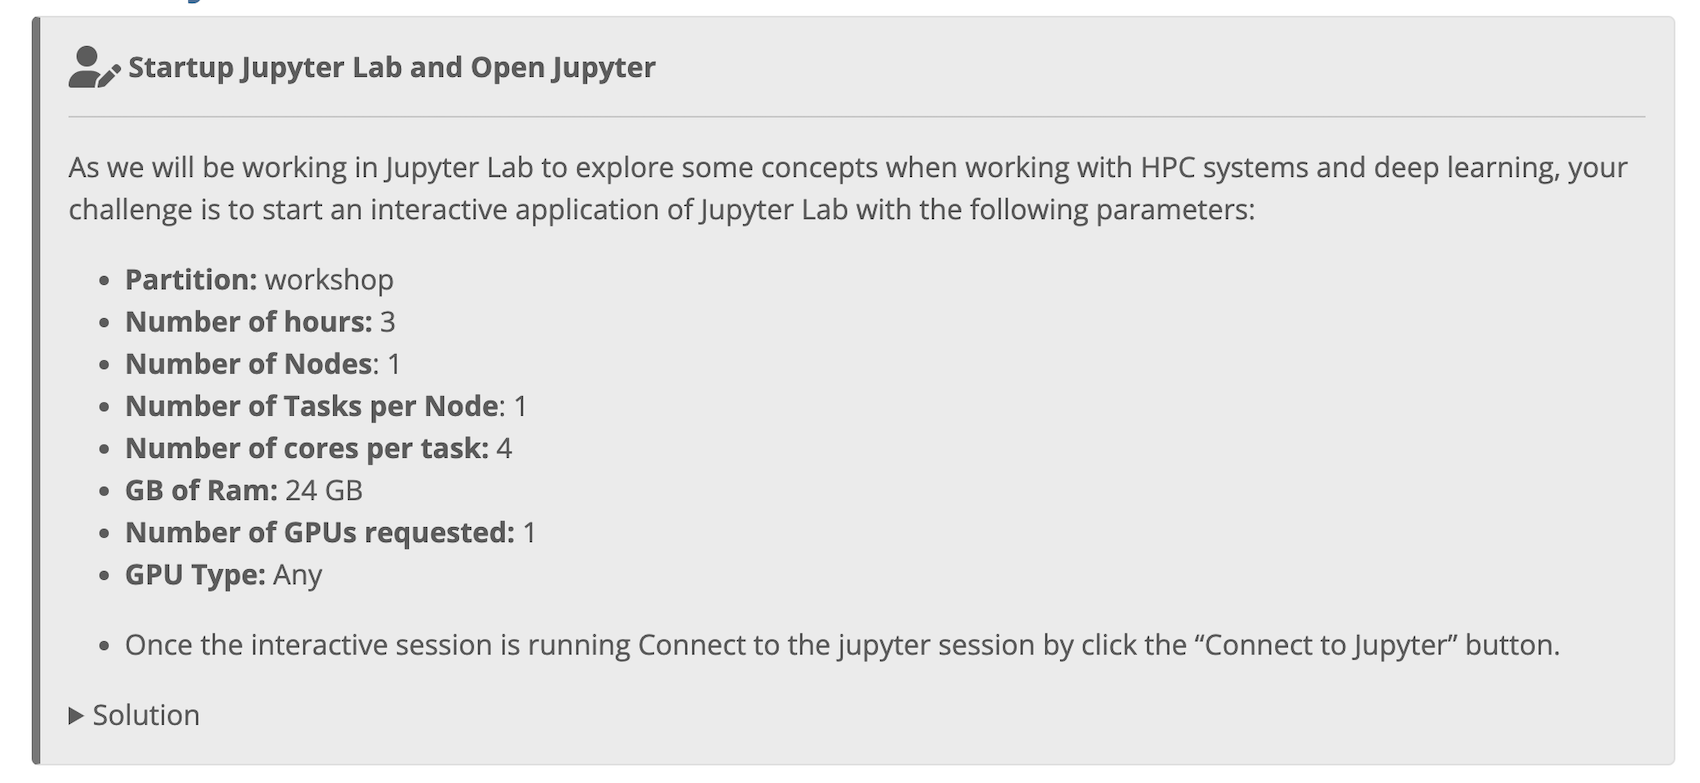
Note the use of the HTML "details" element to provide a toggle-able "Solution" in the above admonition!
Warning for warnings
Finally, to provide a "warning", the tutorial uses the "warning" admonition:

Provide start times
As noted in the Workshop Design page, to keep the workshop on track, it is helpful to label each Experience (and the final Assessment) with its start time. Here is an example excerpt from the FAIR Data Management Workshop:
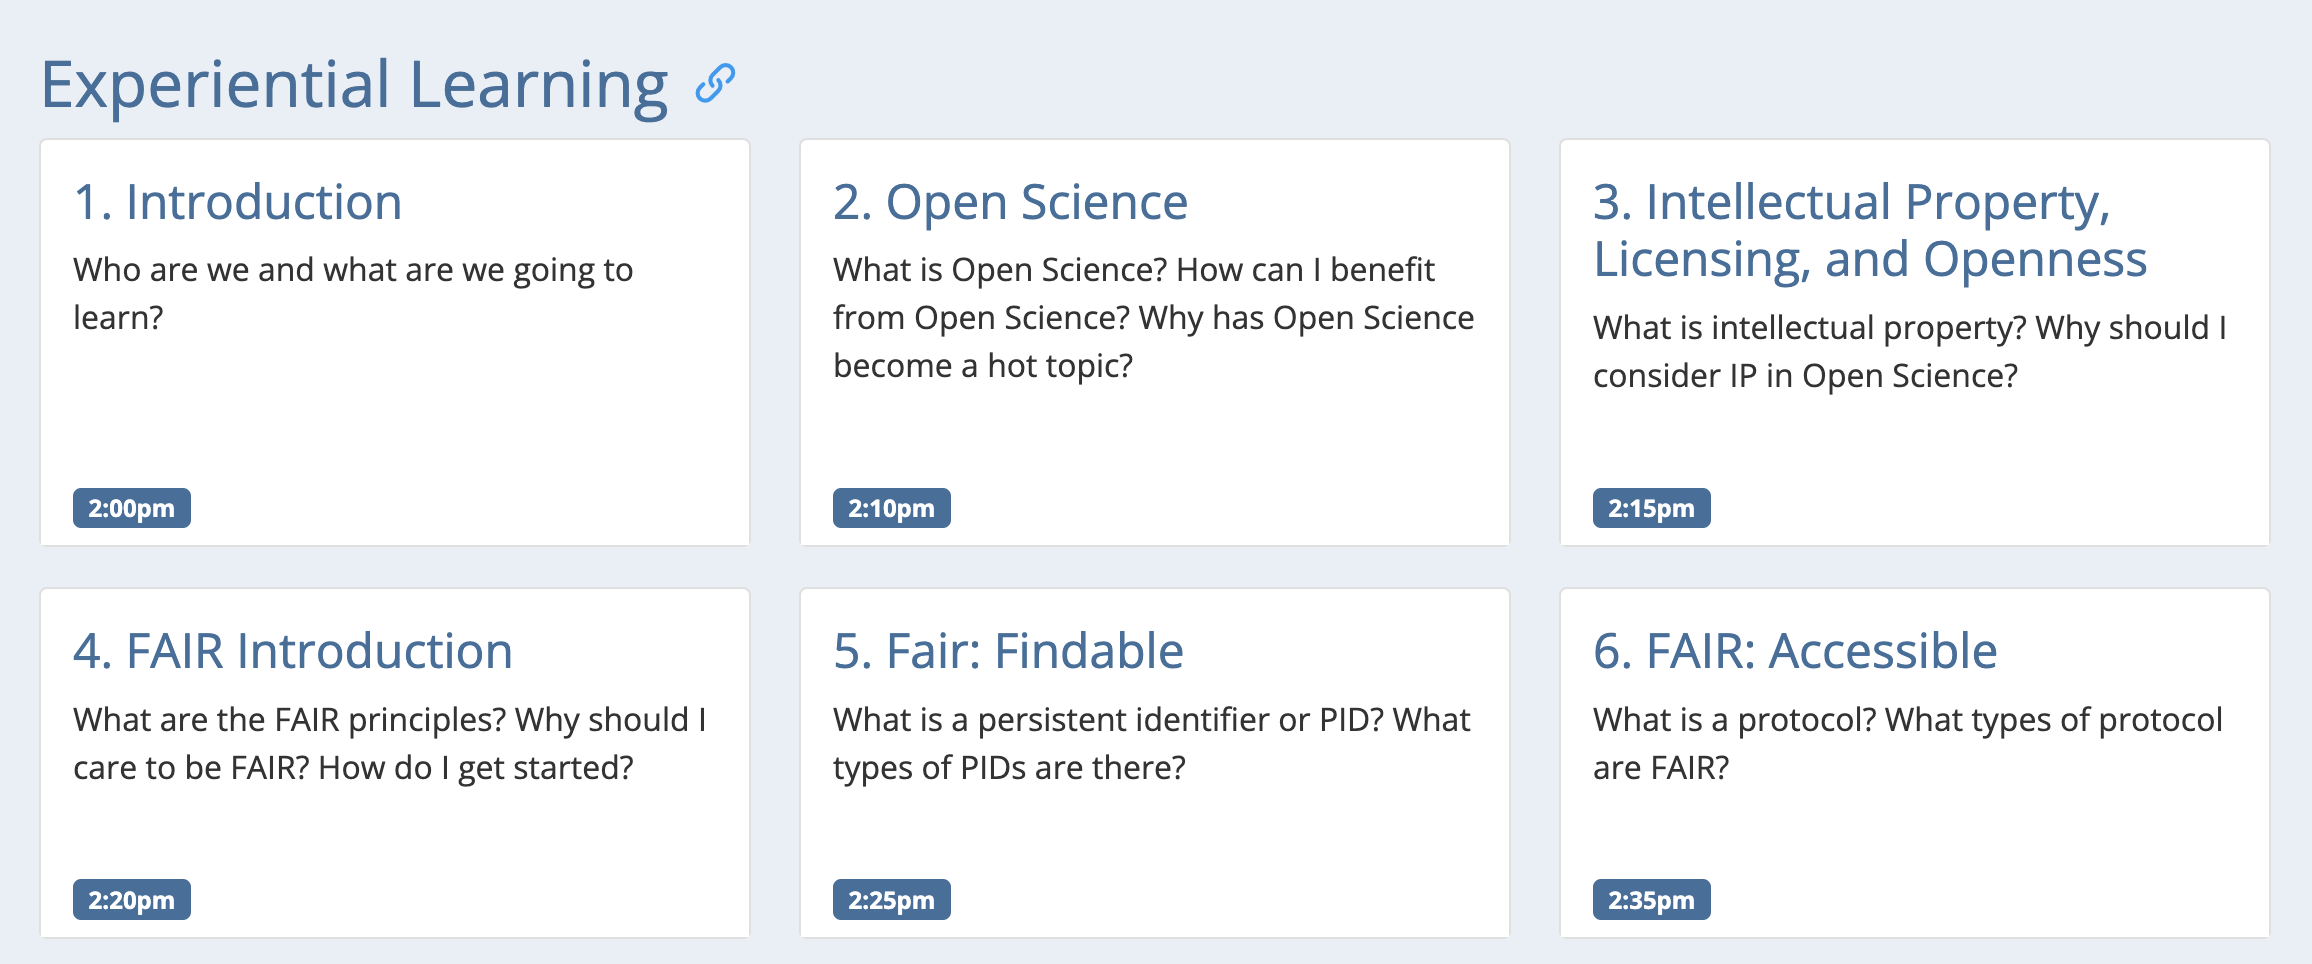
As you can see, there is a label associated with each Experience page that indicates when that Experience should start.
You add this label using the morea_labels property in the front matter associated with the page. For example:
---
title: "1. Introduction"
published: true
morea_id: FairIntroduction
morea_type: experience
morea_summary: "Who are we and what are we going to learn?"
morea_sort_order: 1
morea_labels:
  - 2:00pm
---
Also as noted in the Workshop Design page, try to keep the time for each Experience to 20 minutes or less.
Provide "Next" buttons
There is an include file called next-button.html that builds a right-justified button to go to the next Experience (or to the final Assessment) page. You can use this to provide an easy way for participants to navigate from the bottom of each Experience to the start of the next one. Here's the next button at the bottom of a FAIR Data Management Experience page:

Notice that the Next button includes both the name of the next Experience to be covered, as well as its start time. That enables the instructor to easily check to see if they are on time each time they move to a new Experience page.
The code for creating a Next button is pretty simple. Here's the code for creating that button:
{% include next-button.html
           top-label="Metadata ->"
           bottom-label="3:00pm"
           url="/morea/fair/09-Metadata.html" %}
Be sure to include a Next button to go from the final Experience to the Assessment page.
Provide a "bio break" callout
It's nice to provide a five minute break about half way through the workshop for folks to stretch. A nice way to indicate this is through a bio break callout. Here's an example from the bottom of a FAIR Data Management Experience page:

The code for that is:
<div class="alert alert-warning" role="alert" markdown="1">
<i class="fa-solid fa-circle-info fa-xl"></i> **Bio Break!**
<hr/>
Let's take a brief break to stretch before moving on to the next page.  See you in a few minutes.
</div>
Use "For more information" for supplemental info
It is often useful to provide links to additional information to support participants who want to delve deeper into the topic(s) covered in an Experience. This also provides a way to indicate which material in an Experience can be skipped if the Workshop is running behind schedule.
To indicate supplemental material, or material that can be skipped if necessary, use a "For more information" callout. For example, from the FAIR Data Management Repositories page:
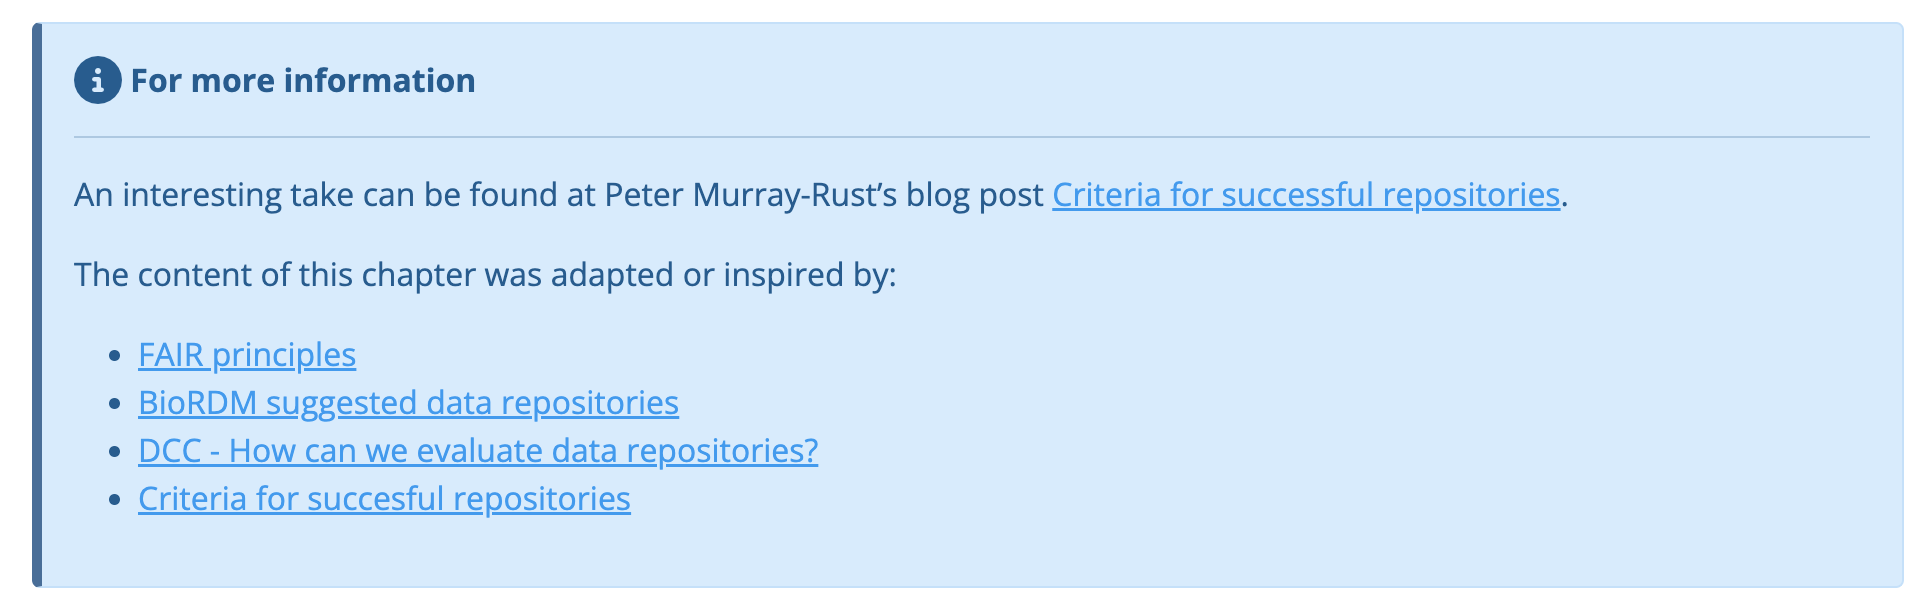
The code for this callout looks like this:
<div class="alert alert-info" role="alert" markdown="1">
<i class="fa-solid fa-circle-info fa-xl"></i> **For more information**
<hr/>

An interesting take can be found at Peter Murray-Rust's blog post [Criteria for successful repositories](https://blogs.ch.cam.ac.uk/pmr/2011/08/19/criteria-for-successful-repositories/).

The content of this chapter was adapted or inspired by:
* [FAIR principles](https://www.go-fair.org/fair-principles/)
* [BioRDM suggested data repositories](https://www.wiki.ed.ac.uk/display/RDMS/Suggested+data+repositories)
* [DCC - How can we evaluate data repositories?](https://www.dcc.ac.uk/news/how-can-we-evaluate-data-repositories-pointers-dryaduk)
* [Criteria for succesful repositories](https://blogs.ch.cam.ac.uk/pmr/2011/08/19/criteria-for-successful-repositories/)
</div>
Assess some learning outcomes
The "O" in Morea stands for "outcomes", and the "A" in Morea stands for "assessment". When you develop a workshop, you will come up with some Learning Outcomes, and the last 10 minutes of each workshop is set aside for participants to fill out an assessment questionnaire.
Although Philip will be responsible for creating the questionnaire and adding the Assessment to your workshop module, you should be thoughtful about designing at least some of your learning outcomes to be "testable" at the end of the workshop. Think about a few key concepts or skills you hope your participants will come away from the workshop with, and then tell Philip what they are so he can add them to the assessment.