Cloud installation
We recommend Gitpod for cloud-based development of Morea. Here are the steps to set up your Gitpod workspace. We assume that you have already completed the "Quick start" instructions, resulting in a working Morea site, or have cloned (or forked) a pre-existing Morea site that you now want to continue working on.
The following video provides a walkthrough of the instructions in this page.
While the following instructions assume no prior experience with Gitpod, you might find it useful to watch some introductory videos either prior to following these instructions, or later when you want to get more familiar with the platform.
Here is a nice series of screencasts on getting started with Gitpod.
Here is the reference guide:
As you will see below, we will need only a small fraction of the features available in Gitpod. In fact, most of your questions will center on appropriate use of the editor. Here are some pointers to editor reference material to get you started:
Login to Gitpod
To start, go to https://gitpod.io/.
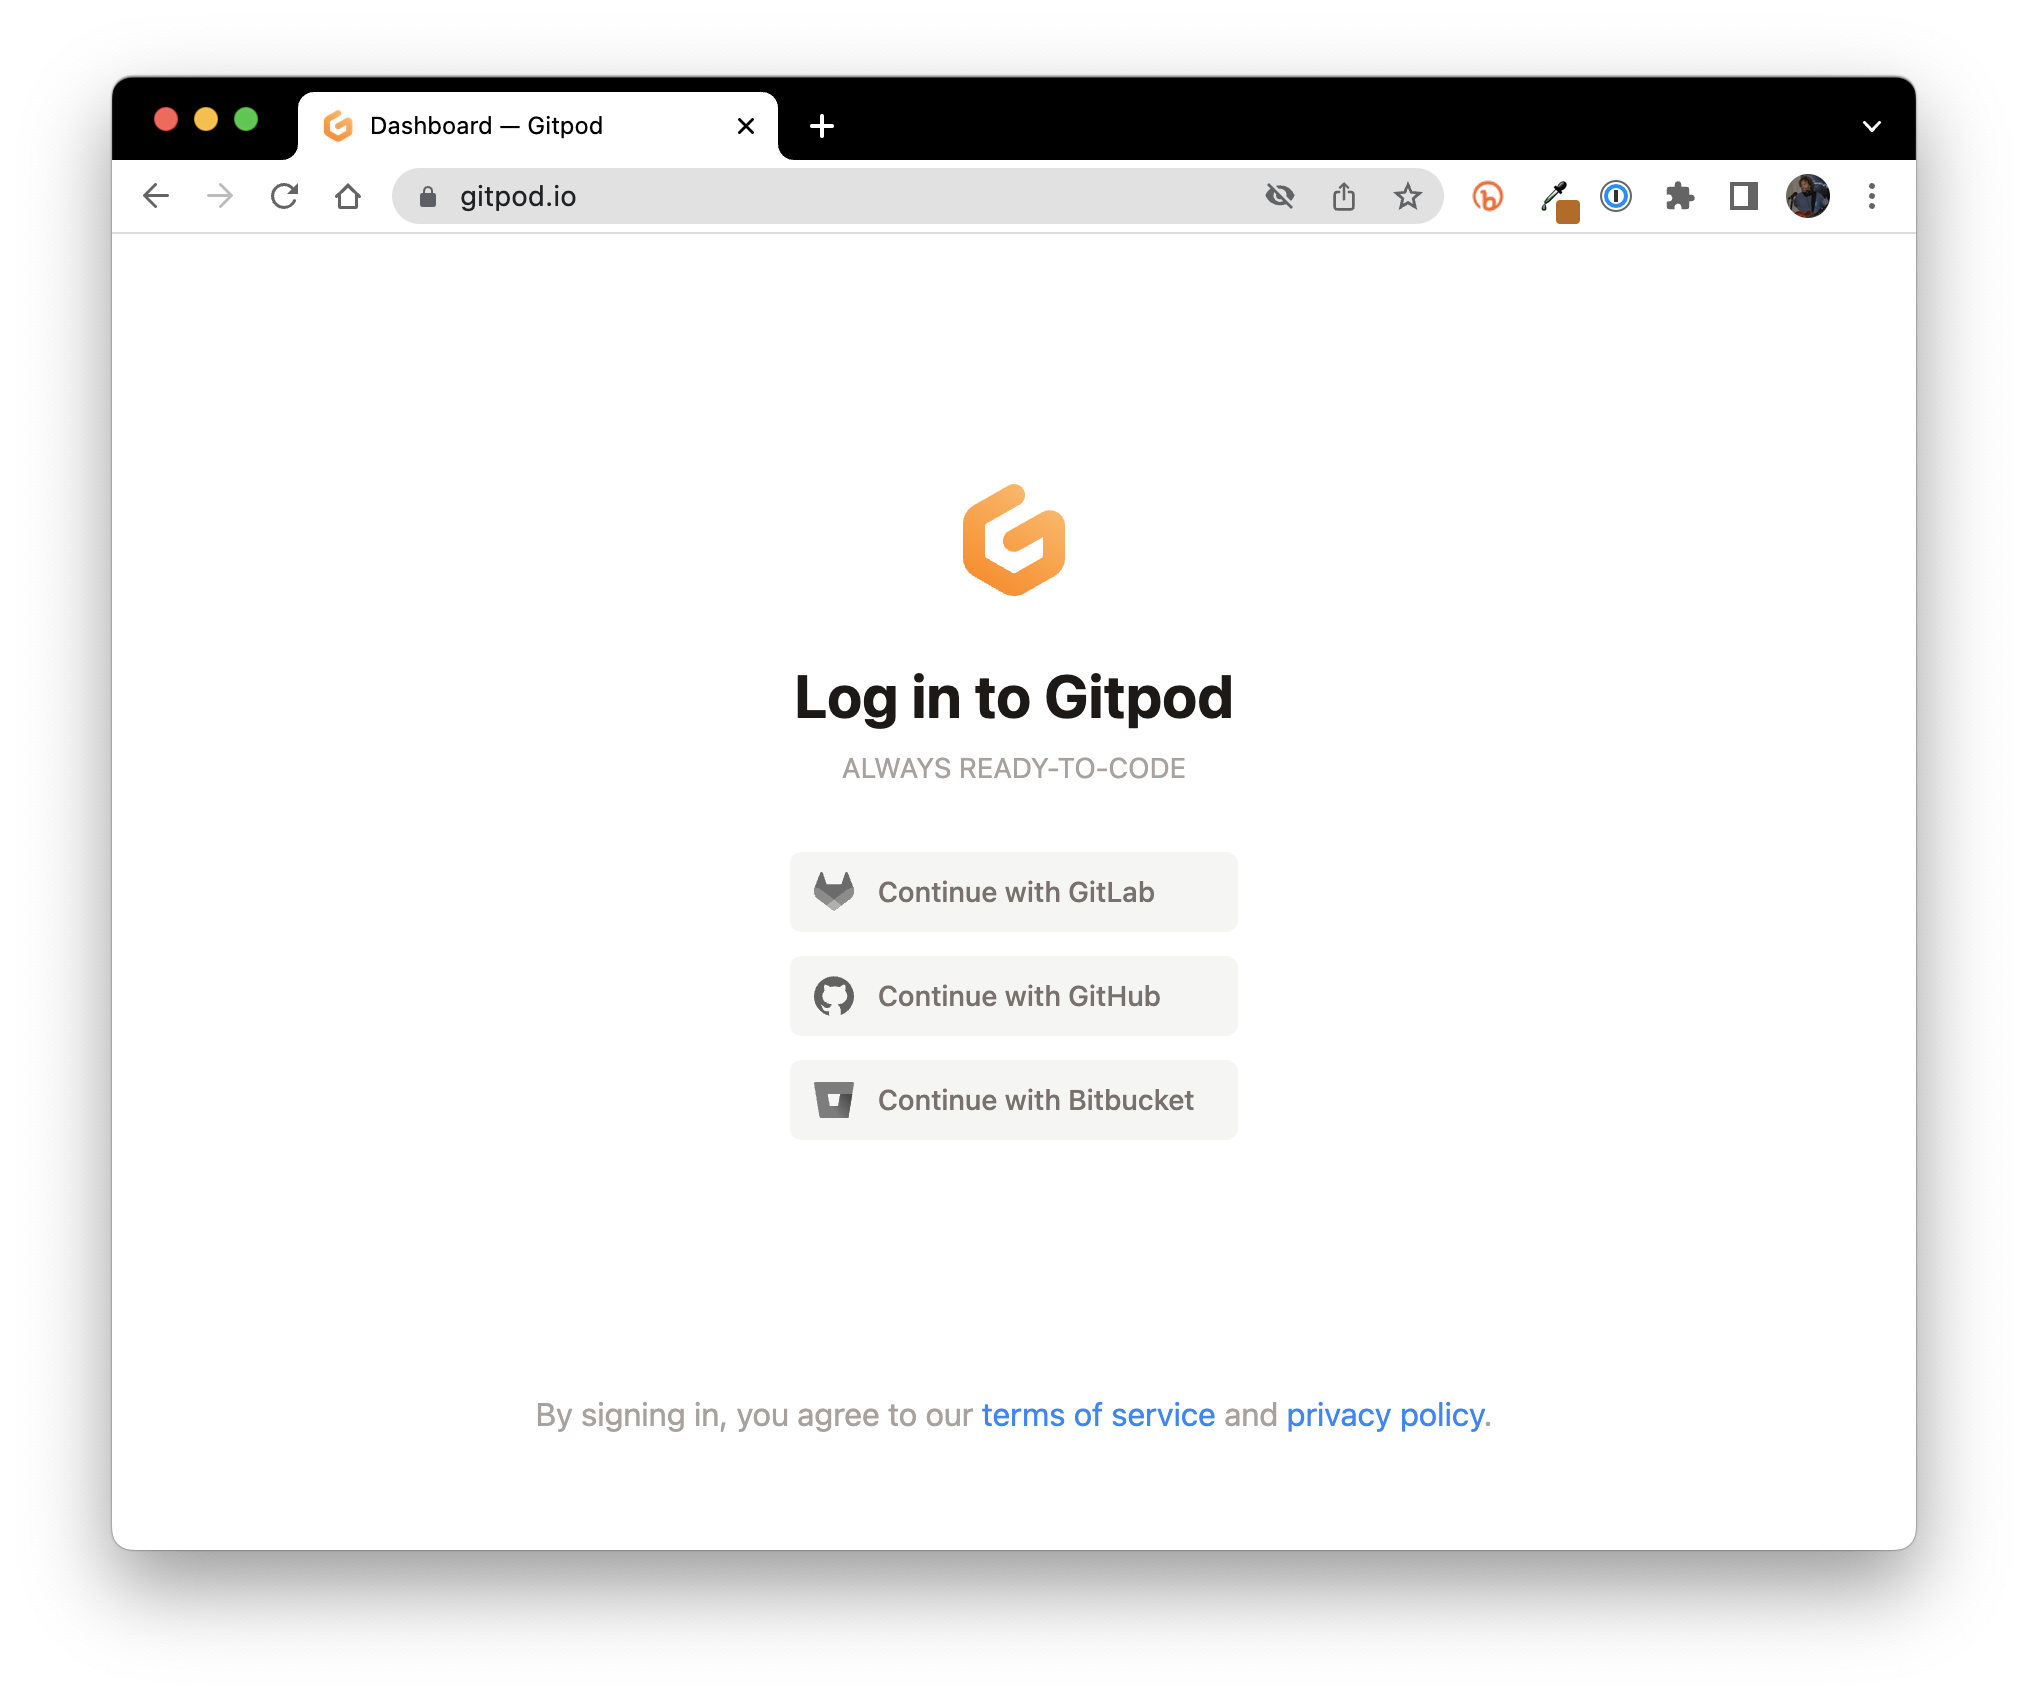
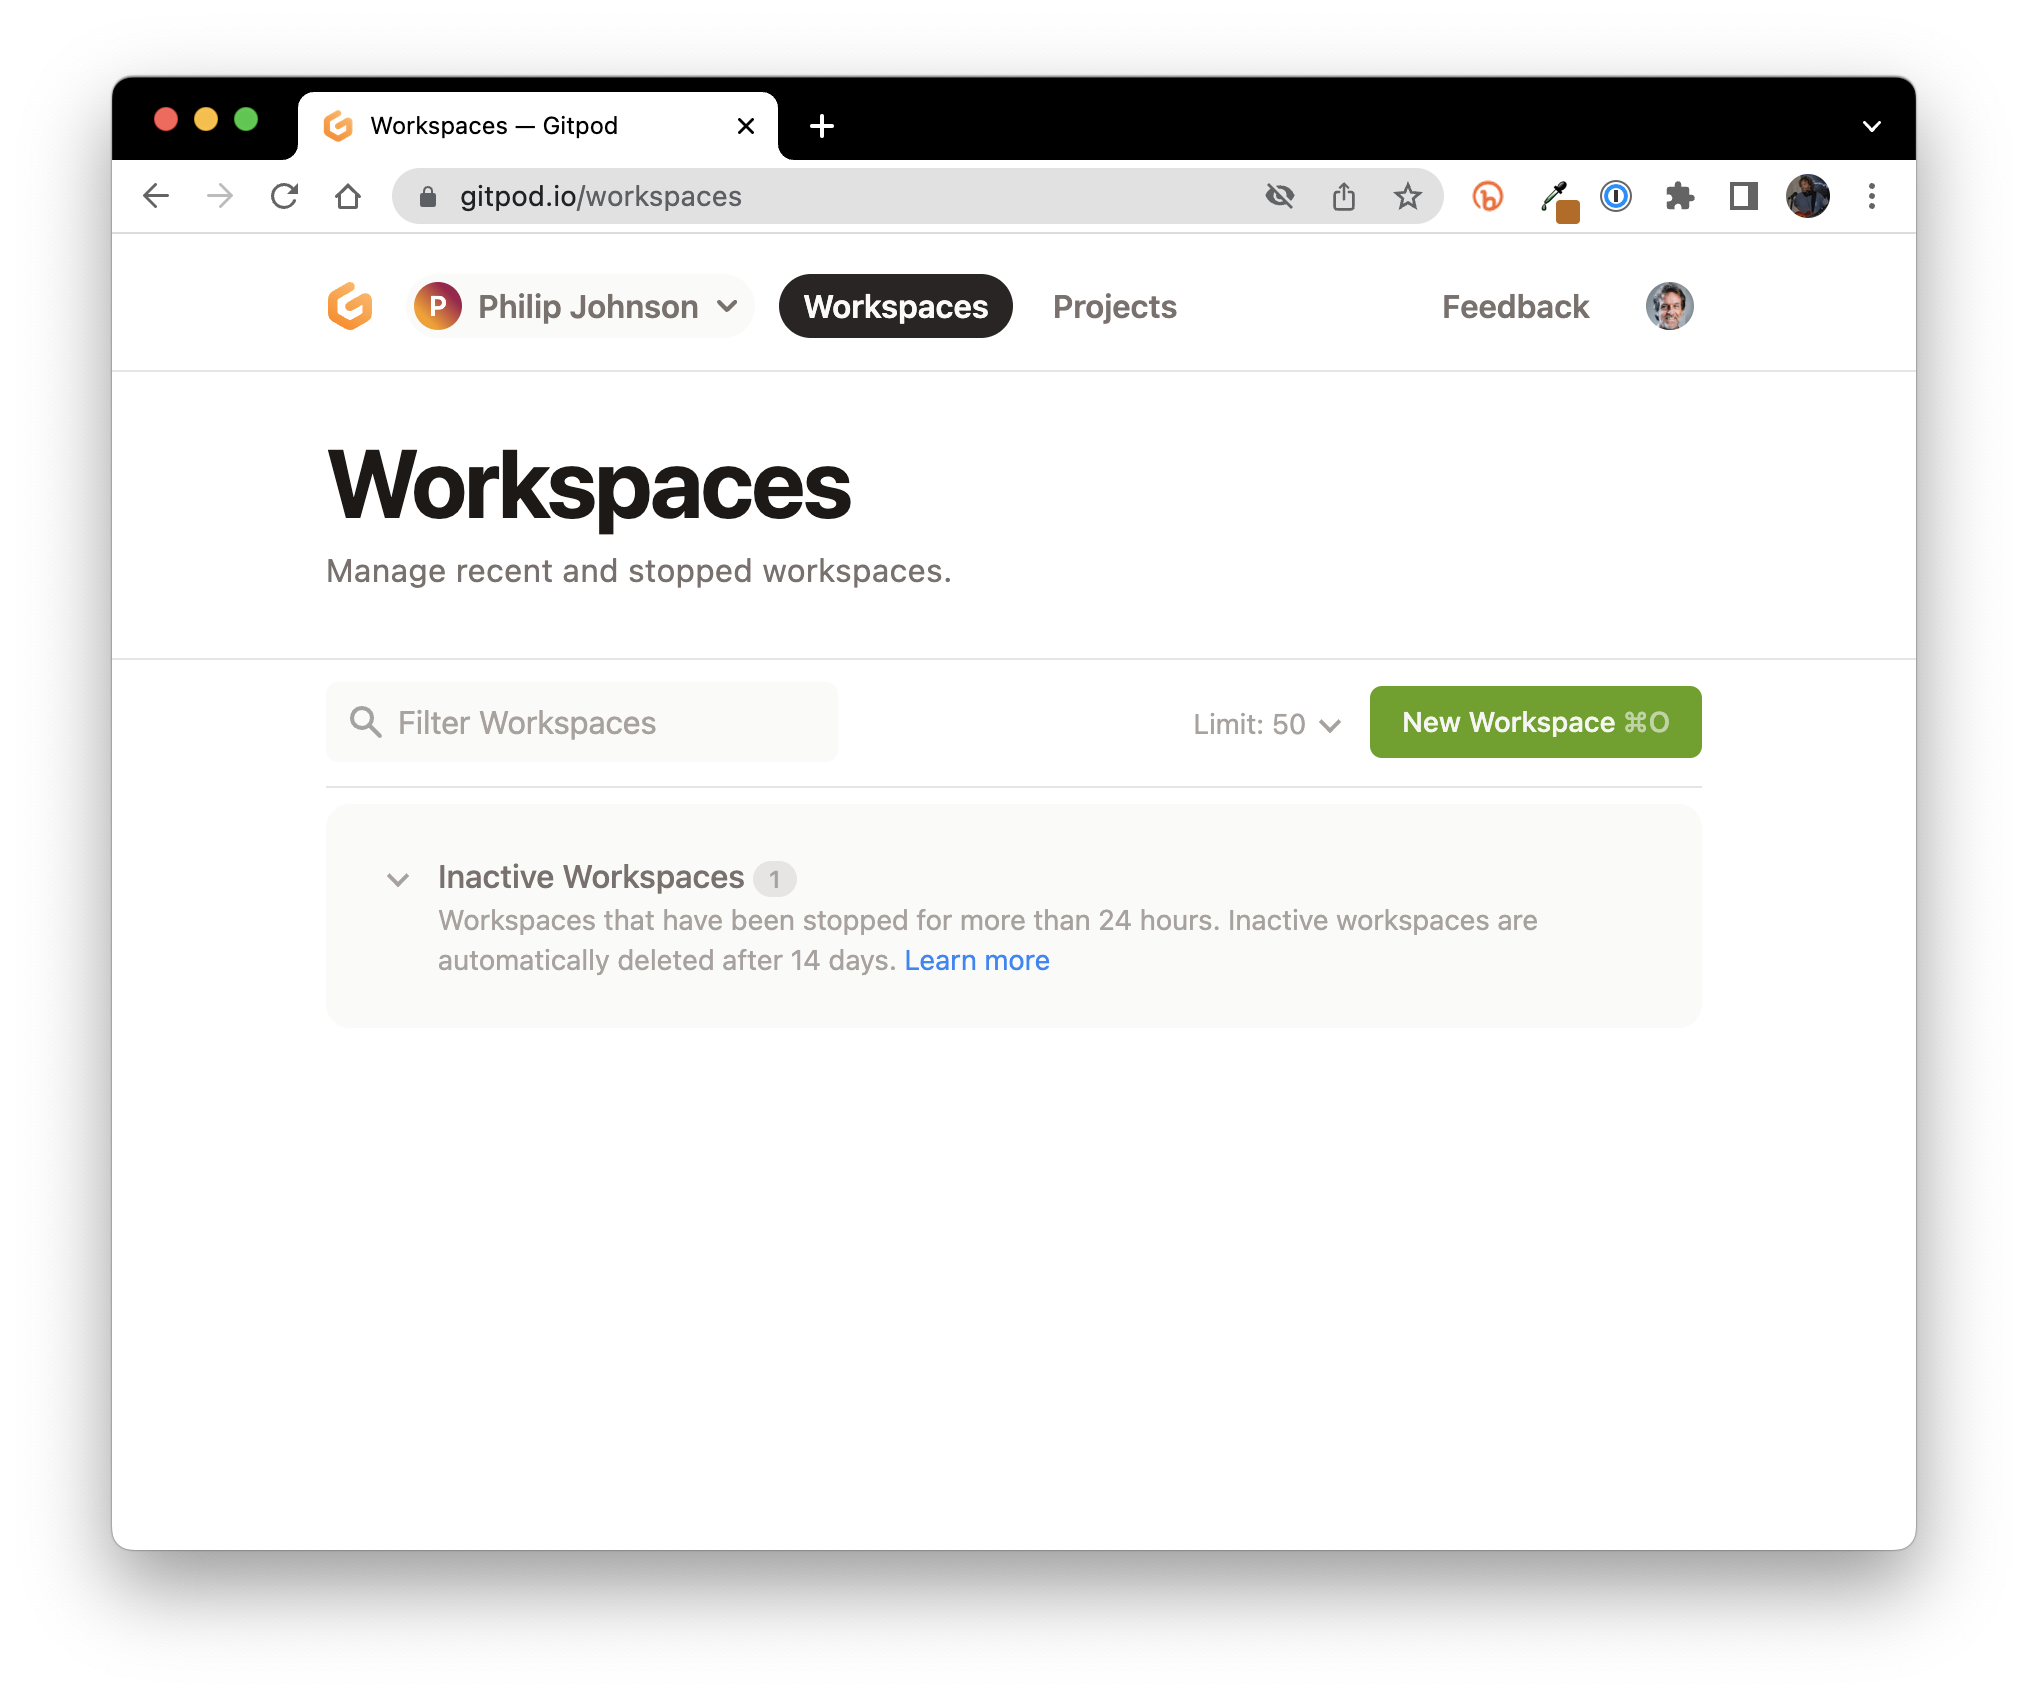
Click the "Continue with GitHub" button and login. That will take you to your Workspaces screen:
Verify provider permissions
Next, check to make sure that GitHub provider permissions are correct. To do this, click on your avatar image at the top right of the page, then click "User Settings", then click "Integrations". You should see a page like this:
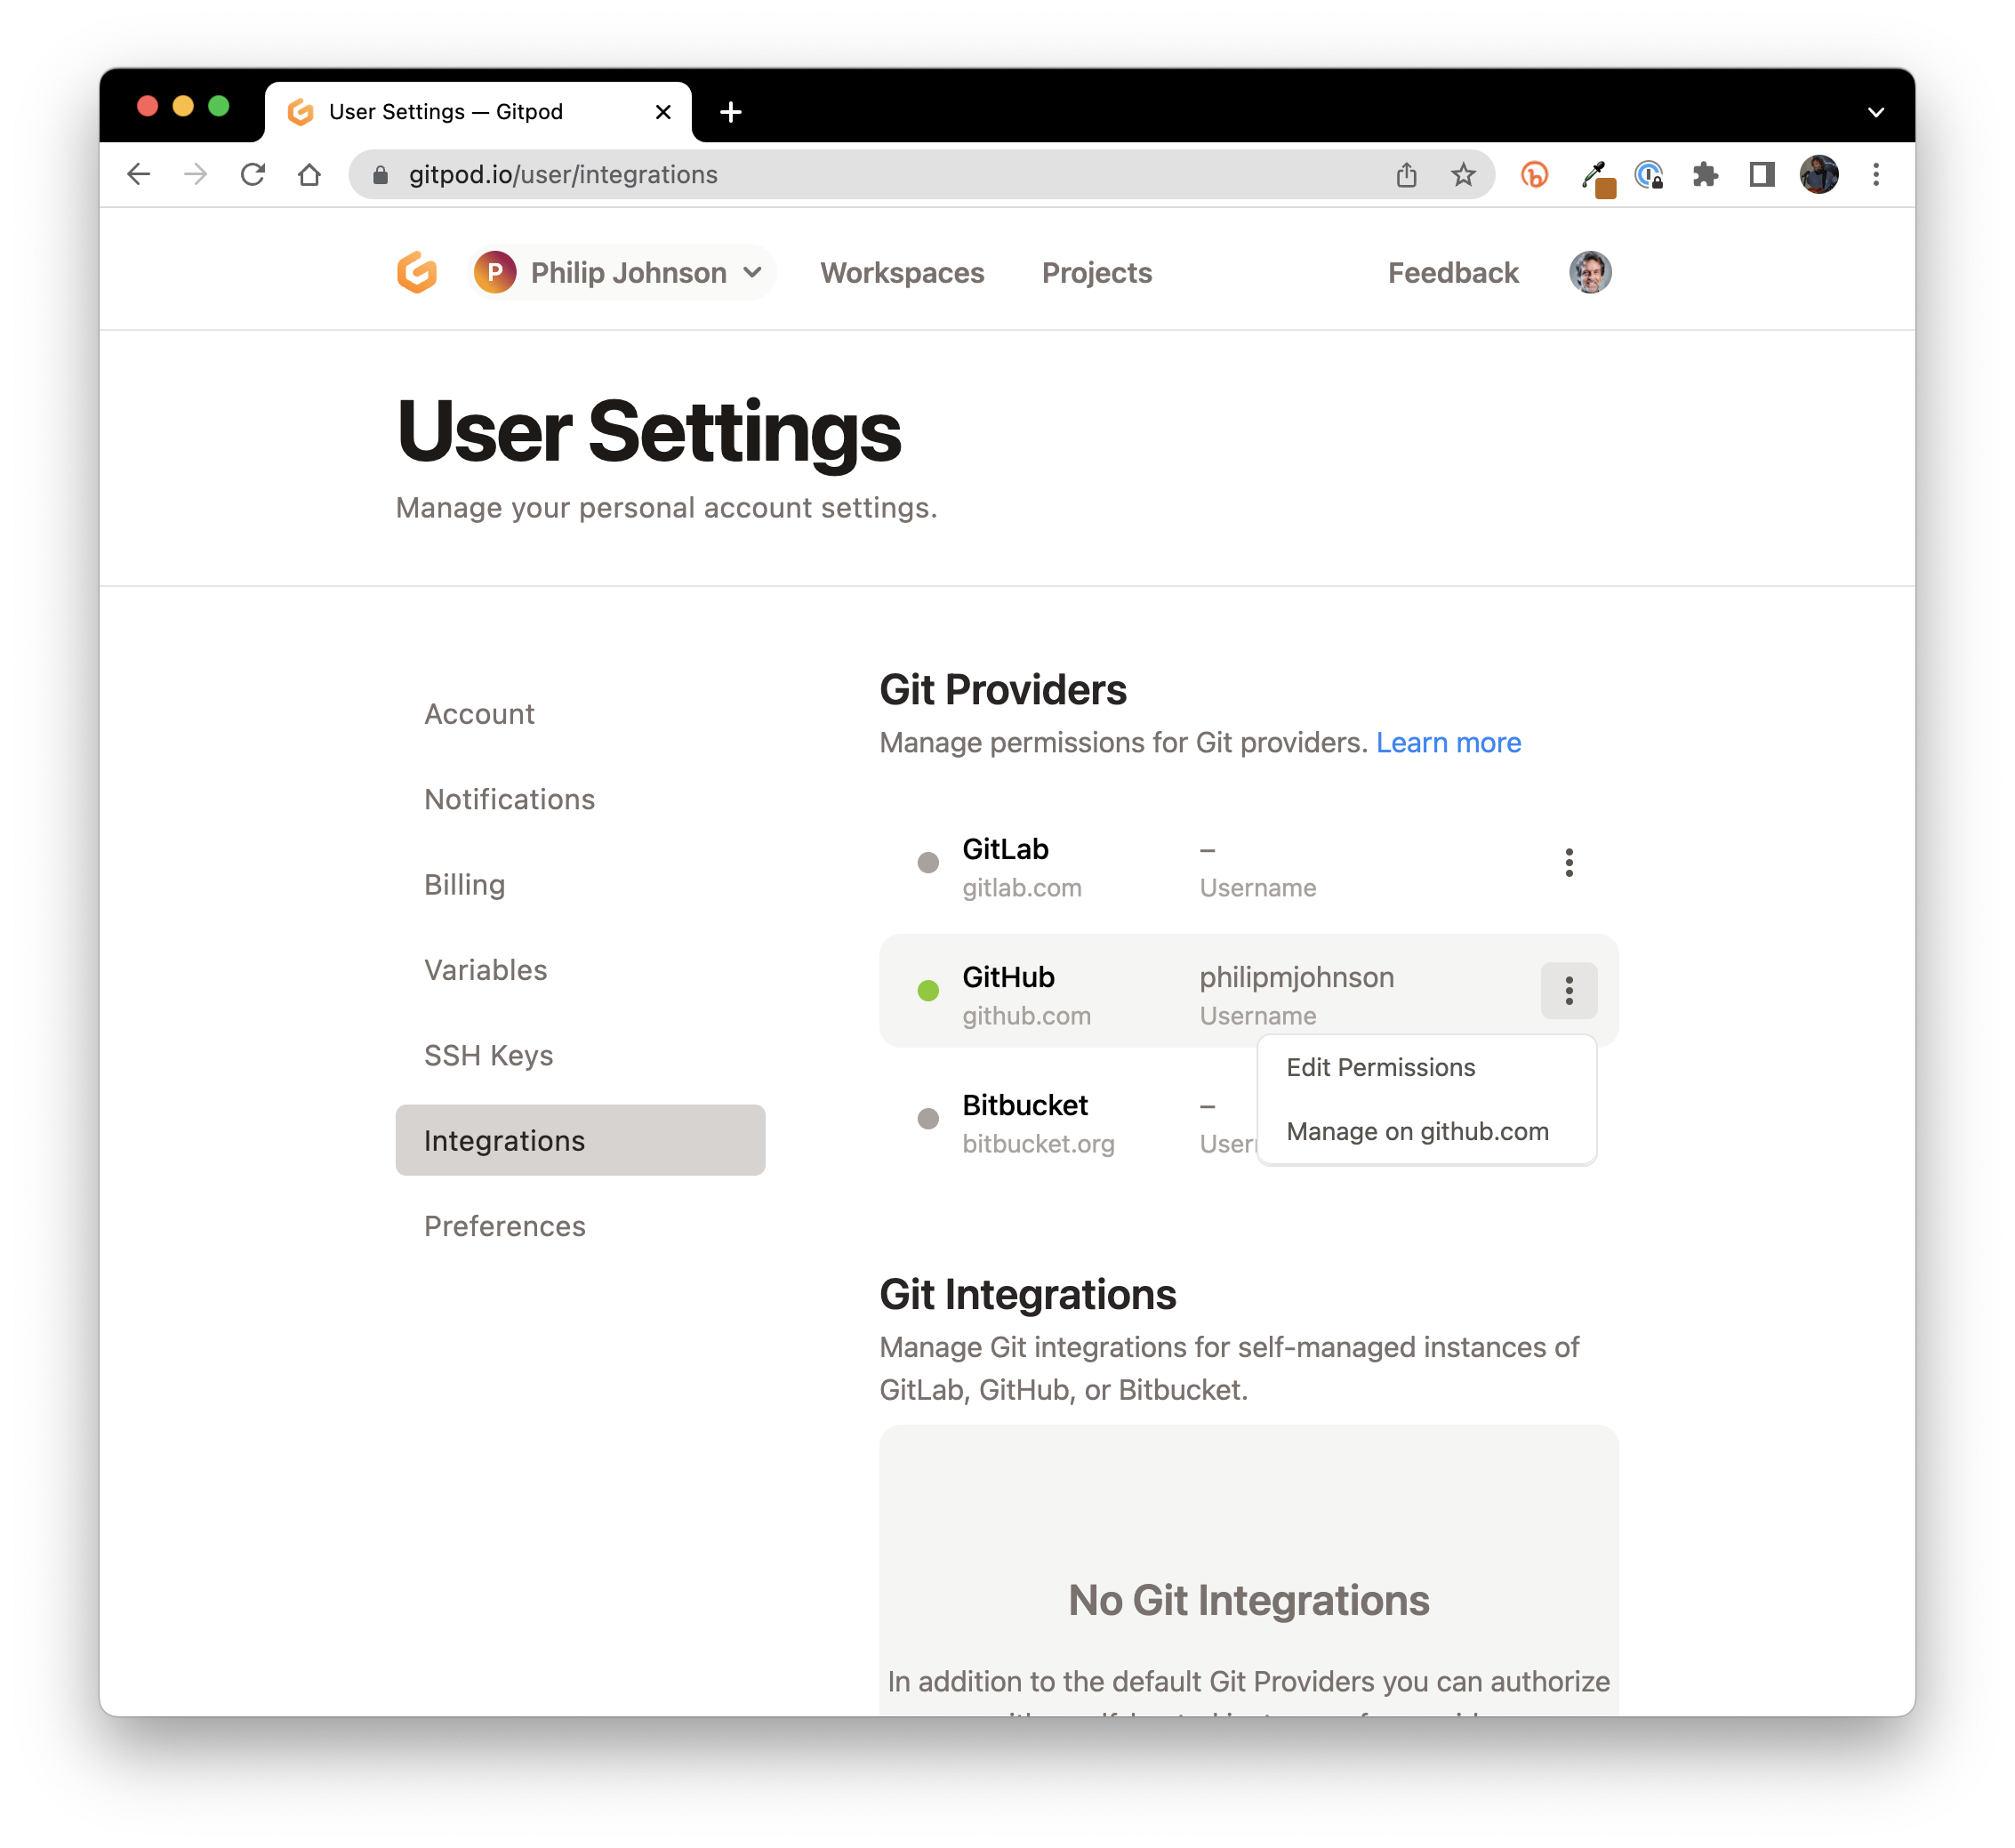
This image shows that if you click on the three dots by the GitHub provider entry, an "Edit Permissions" selection is available click on that to bring up the following:
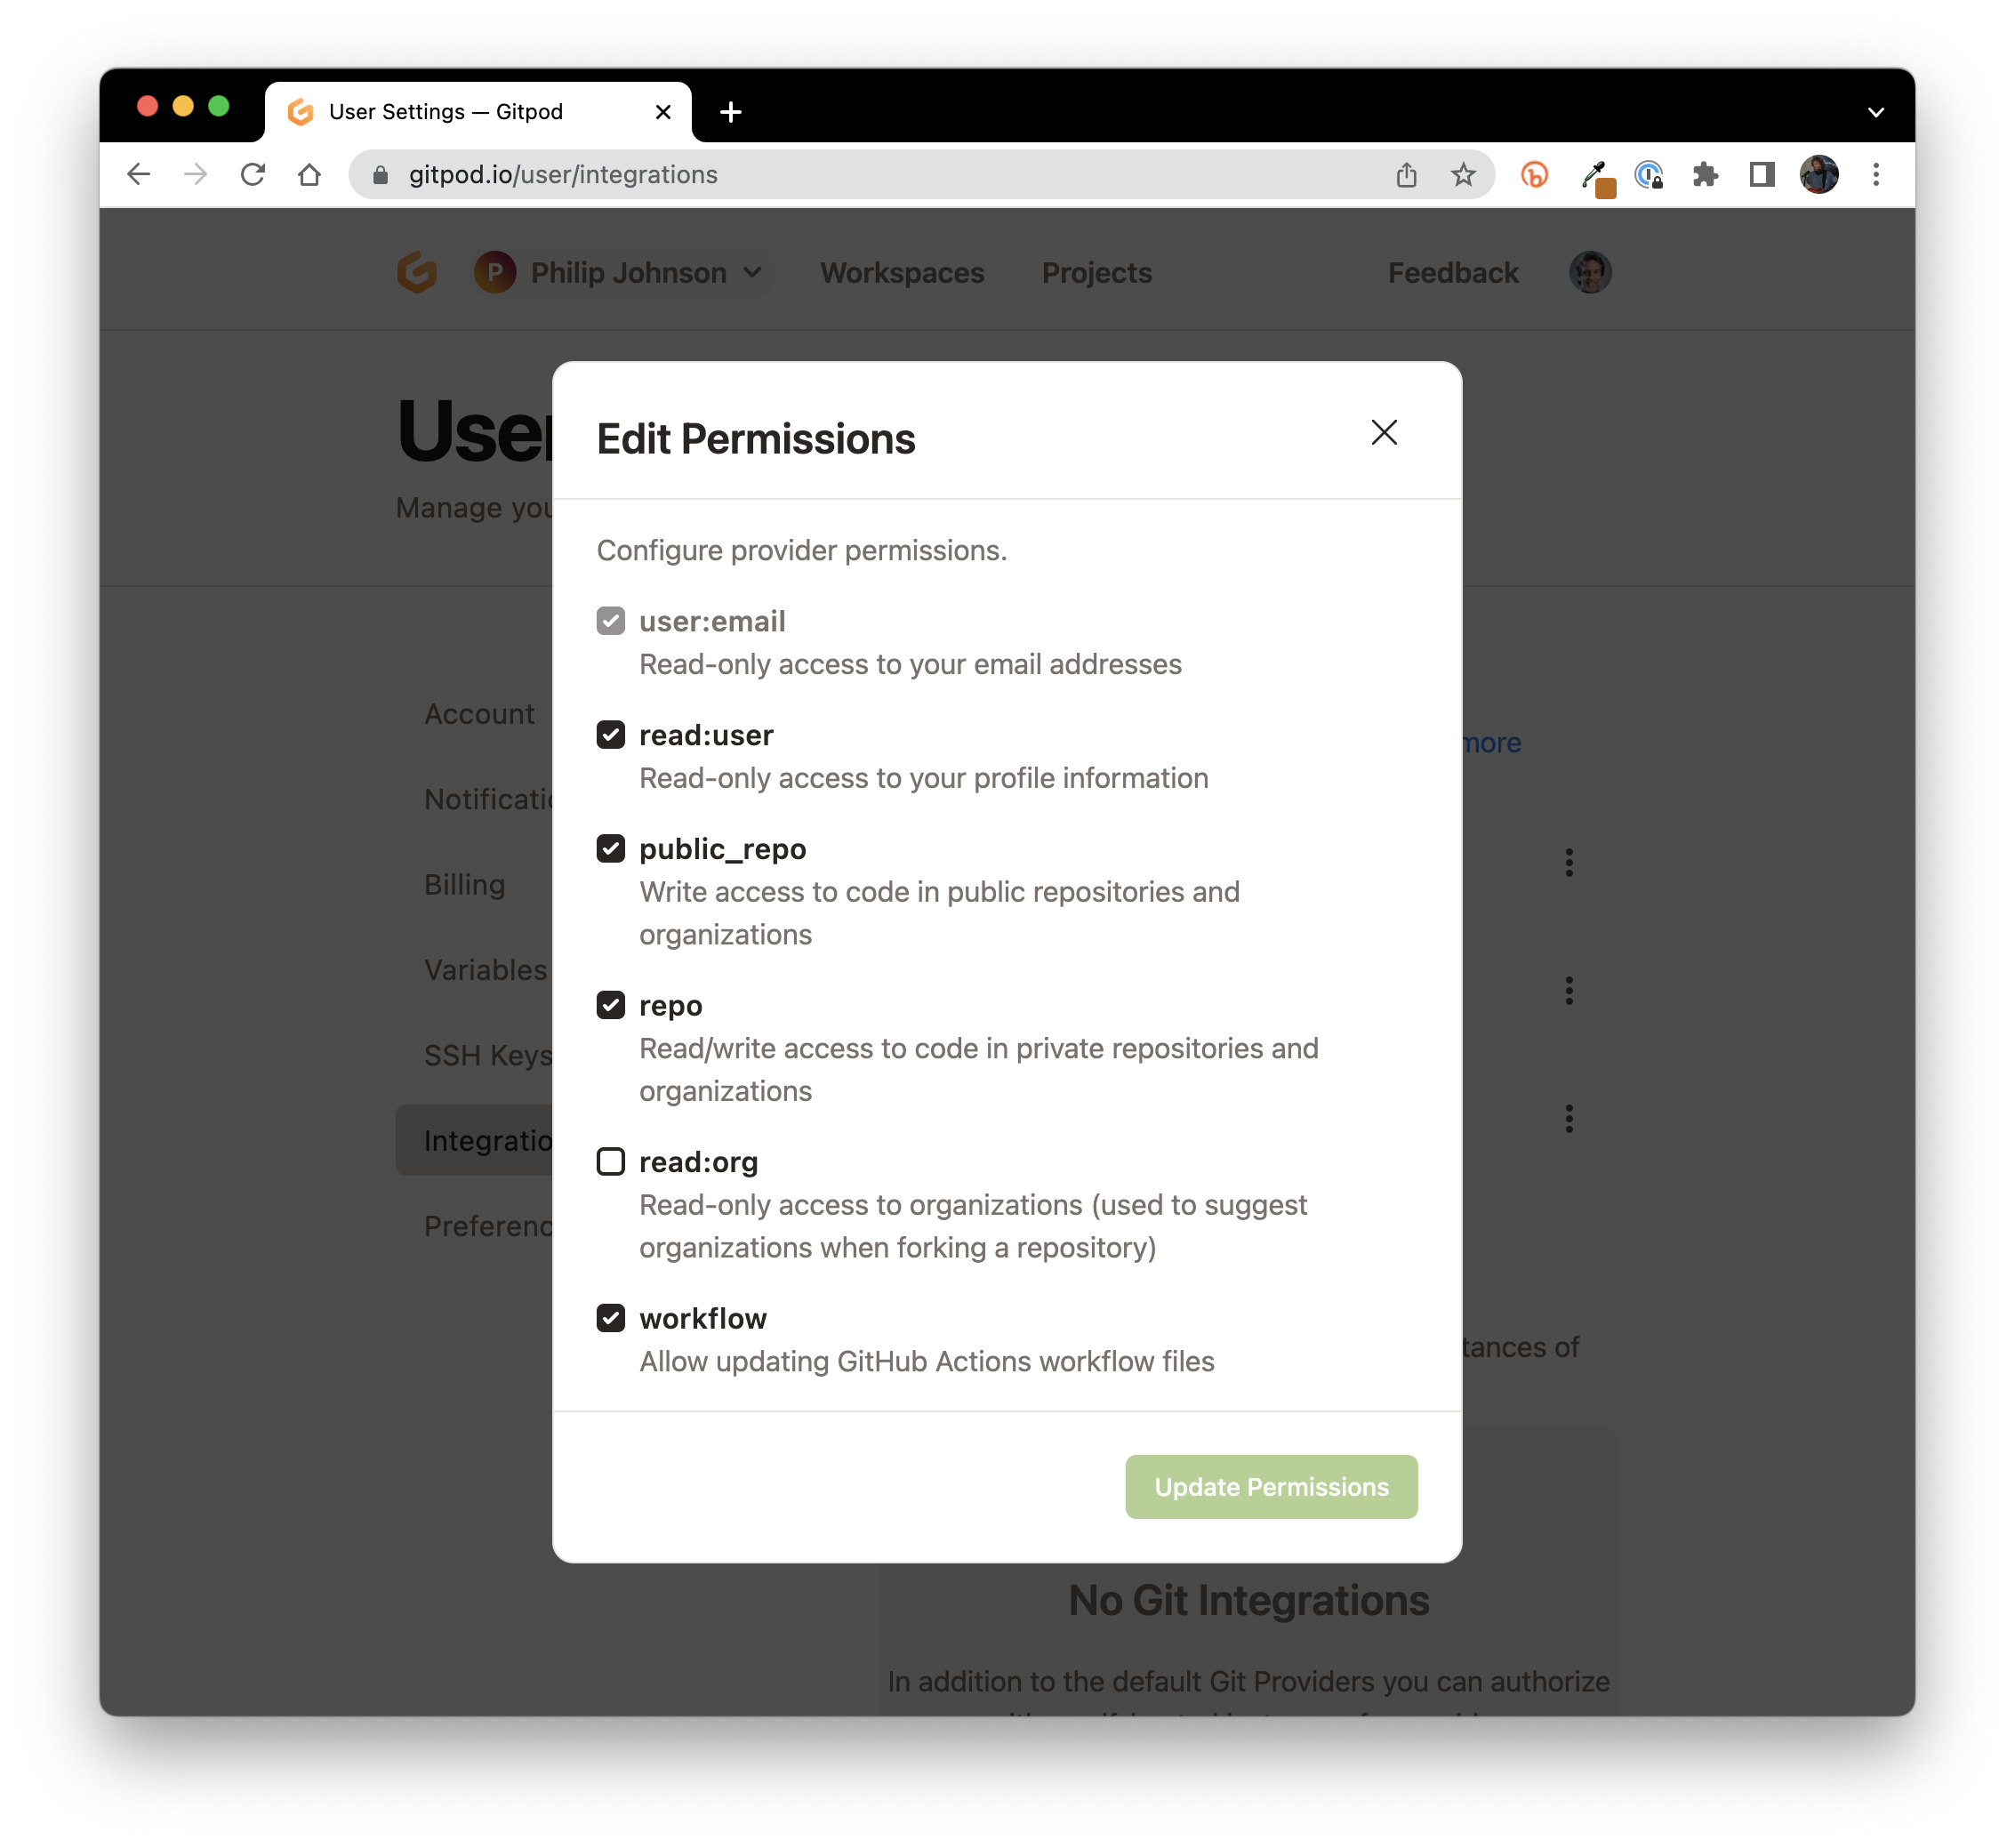
Look carefully at this image. You want the "read:user", "public_repo", "repo", and "workflow" permissions selected, and you do not want the "read:org" permission selected. If your permissions need adjusting, please do so now and click "Update Permissions" to save your changes.
Open the workspace for your Morea site
Now click the "Workspaces" tab at the top of the page to return to the Workspace page.
Click the "New Workspace" button, which should bring up a pull-down menu that allows you to select the repository associated with your Morea site:
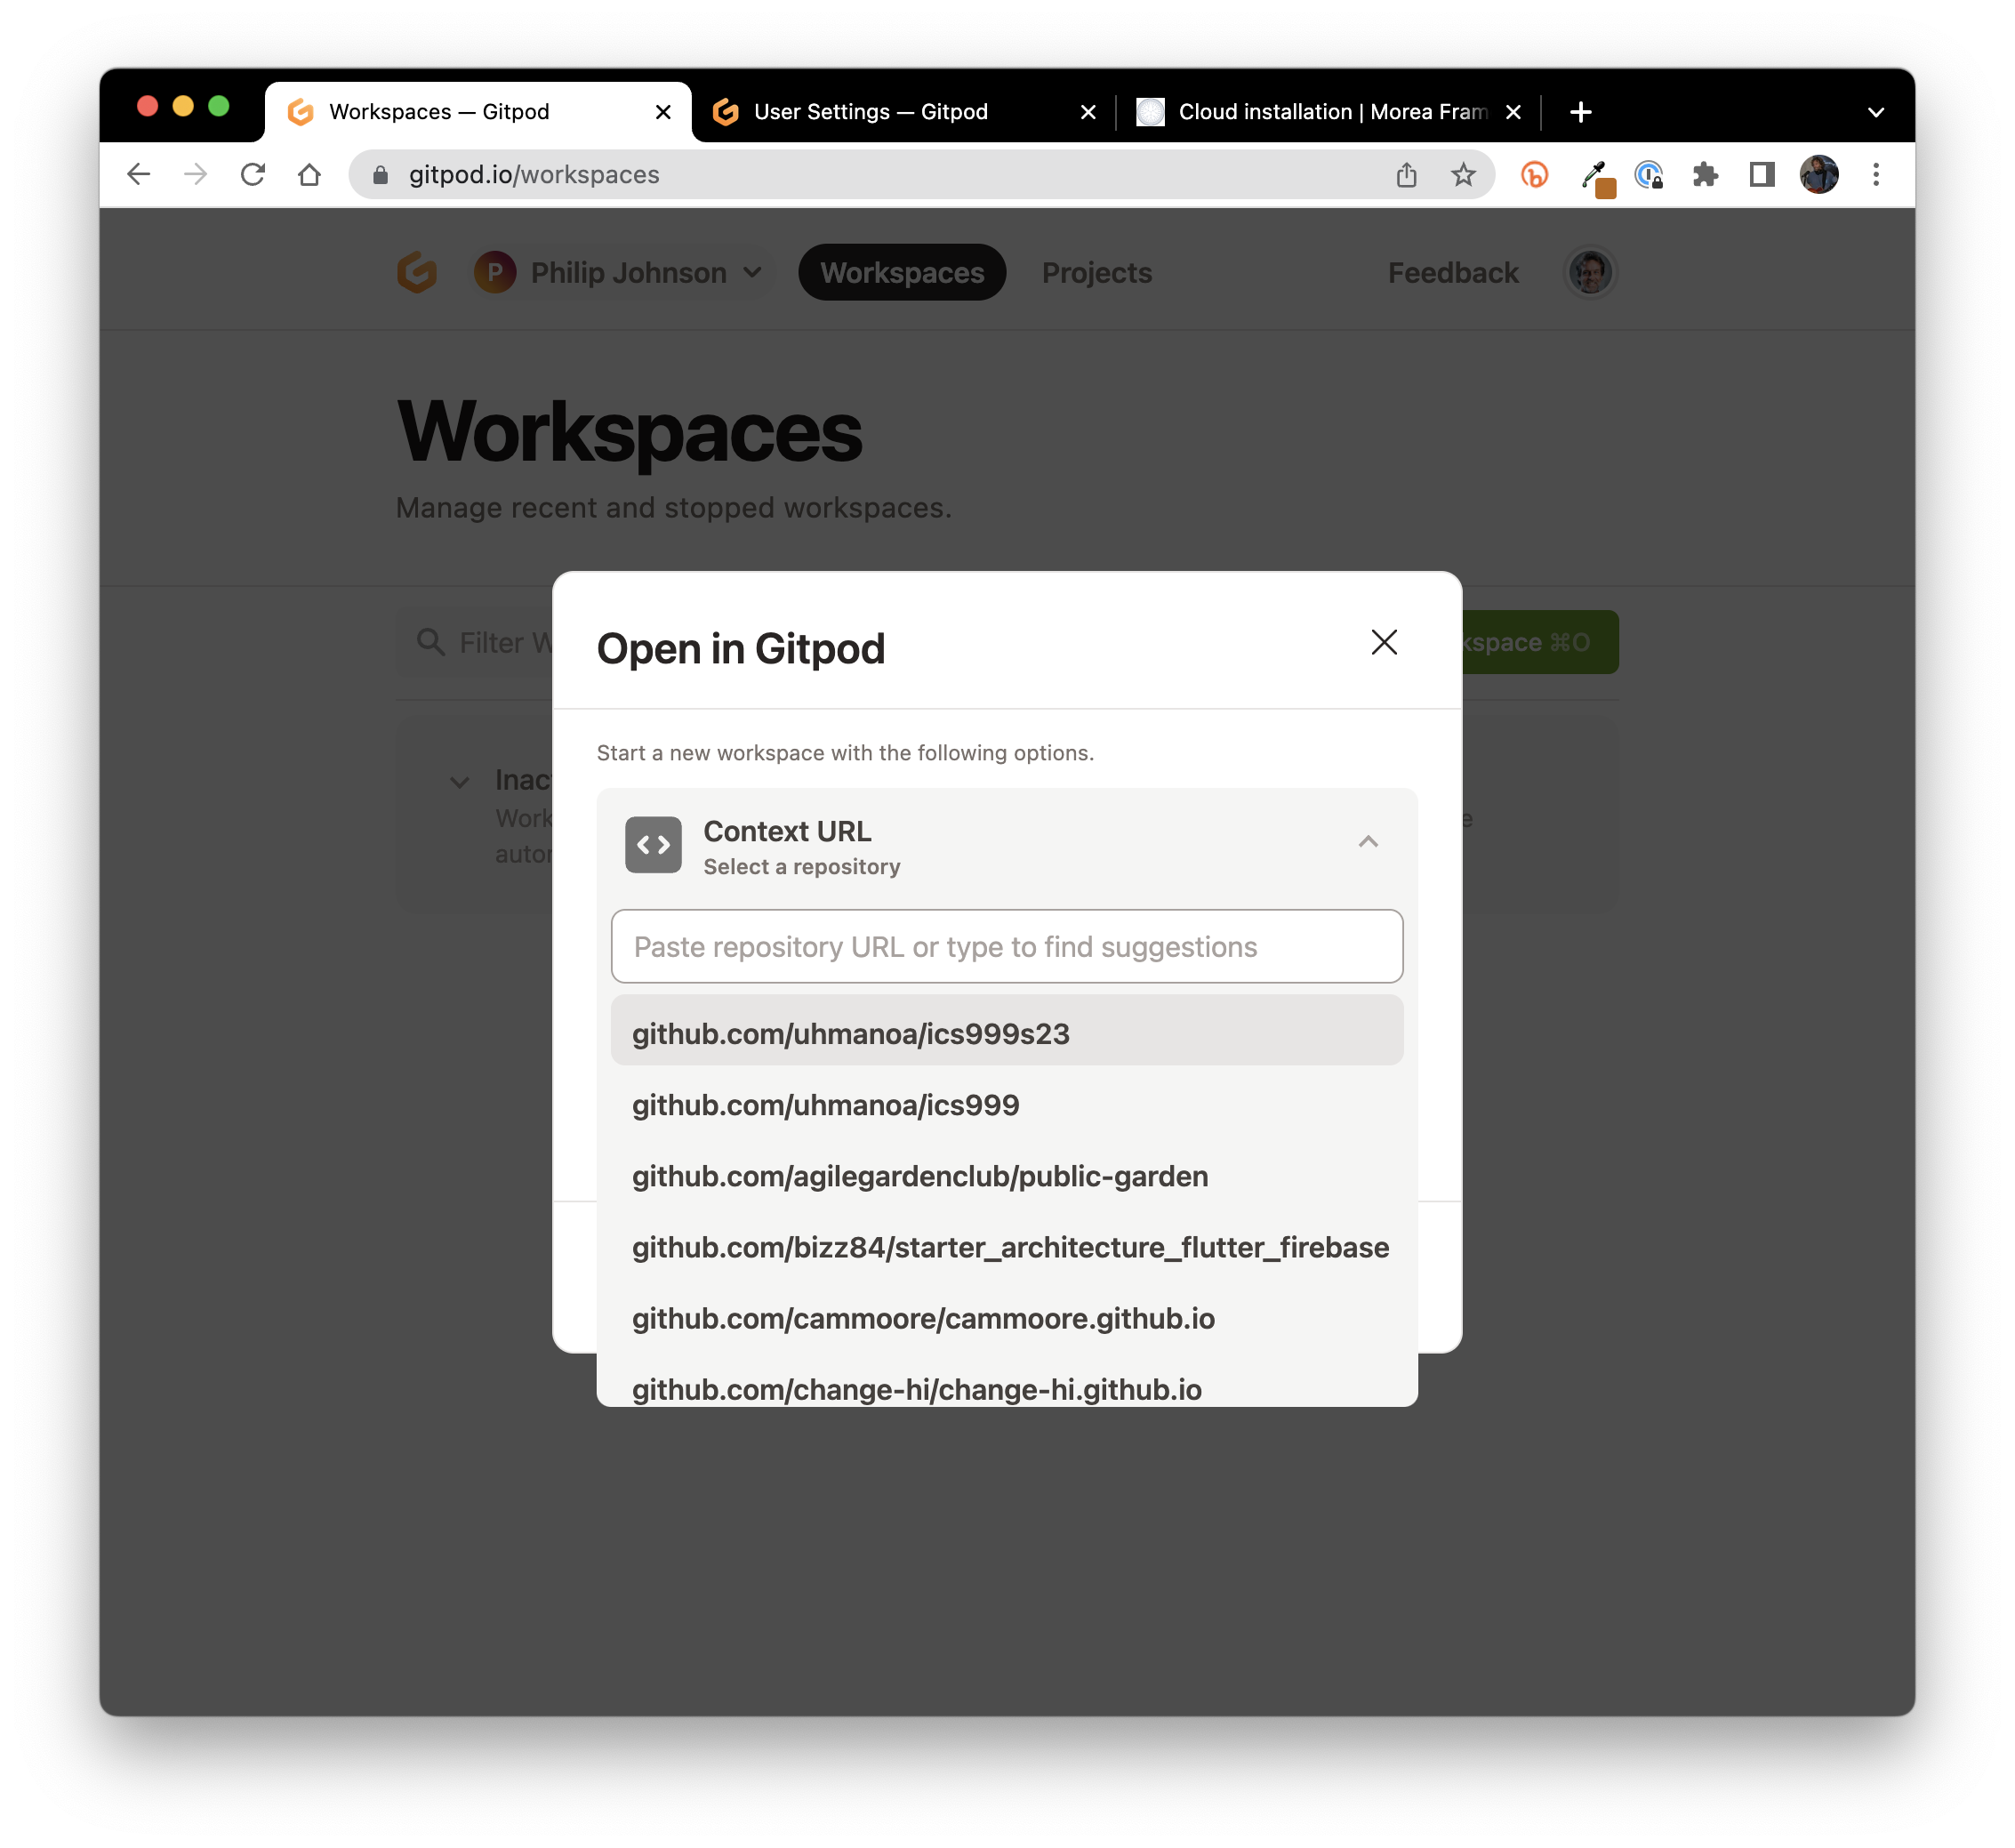
If you just created your repo recently, it may not appear in the pull-down menu. In this case, just type the URL to your repo directly into the text field and type return. For example, if your repo is called ics299s24.github.io and is located in the organization philipmjohnson, then you would type the following into the text field:
https://github.com/philipmjohnson/ics299s24.github.io
After you type return, the pull-down menu should refresh to display a workspace for that repo. Just select it and you should now be on your way.
After selecting your repository, you should see a page like this:
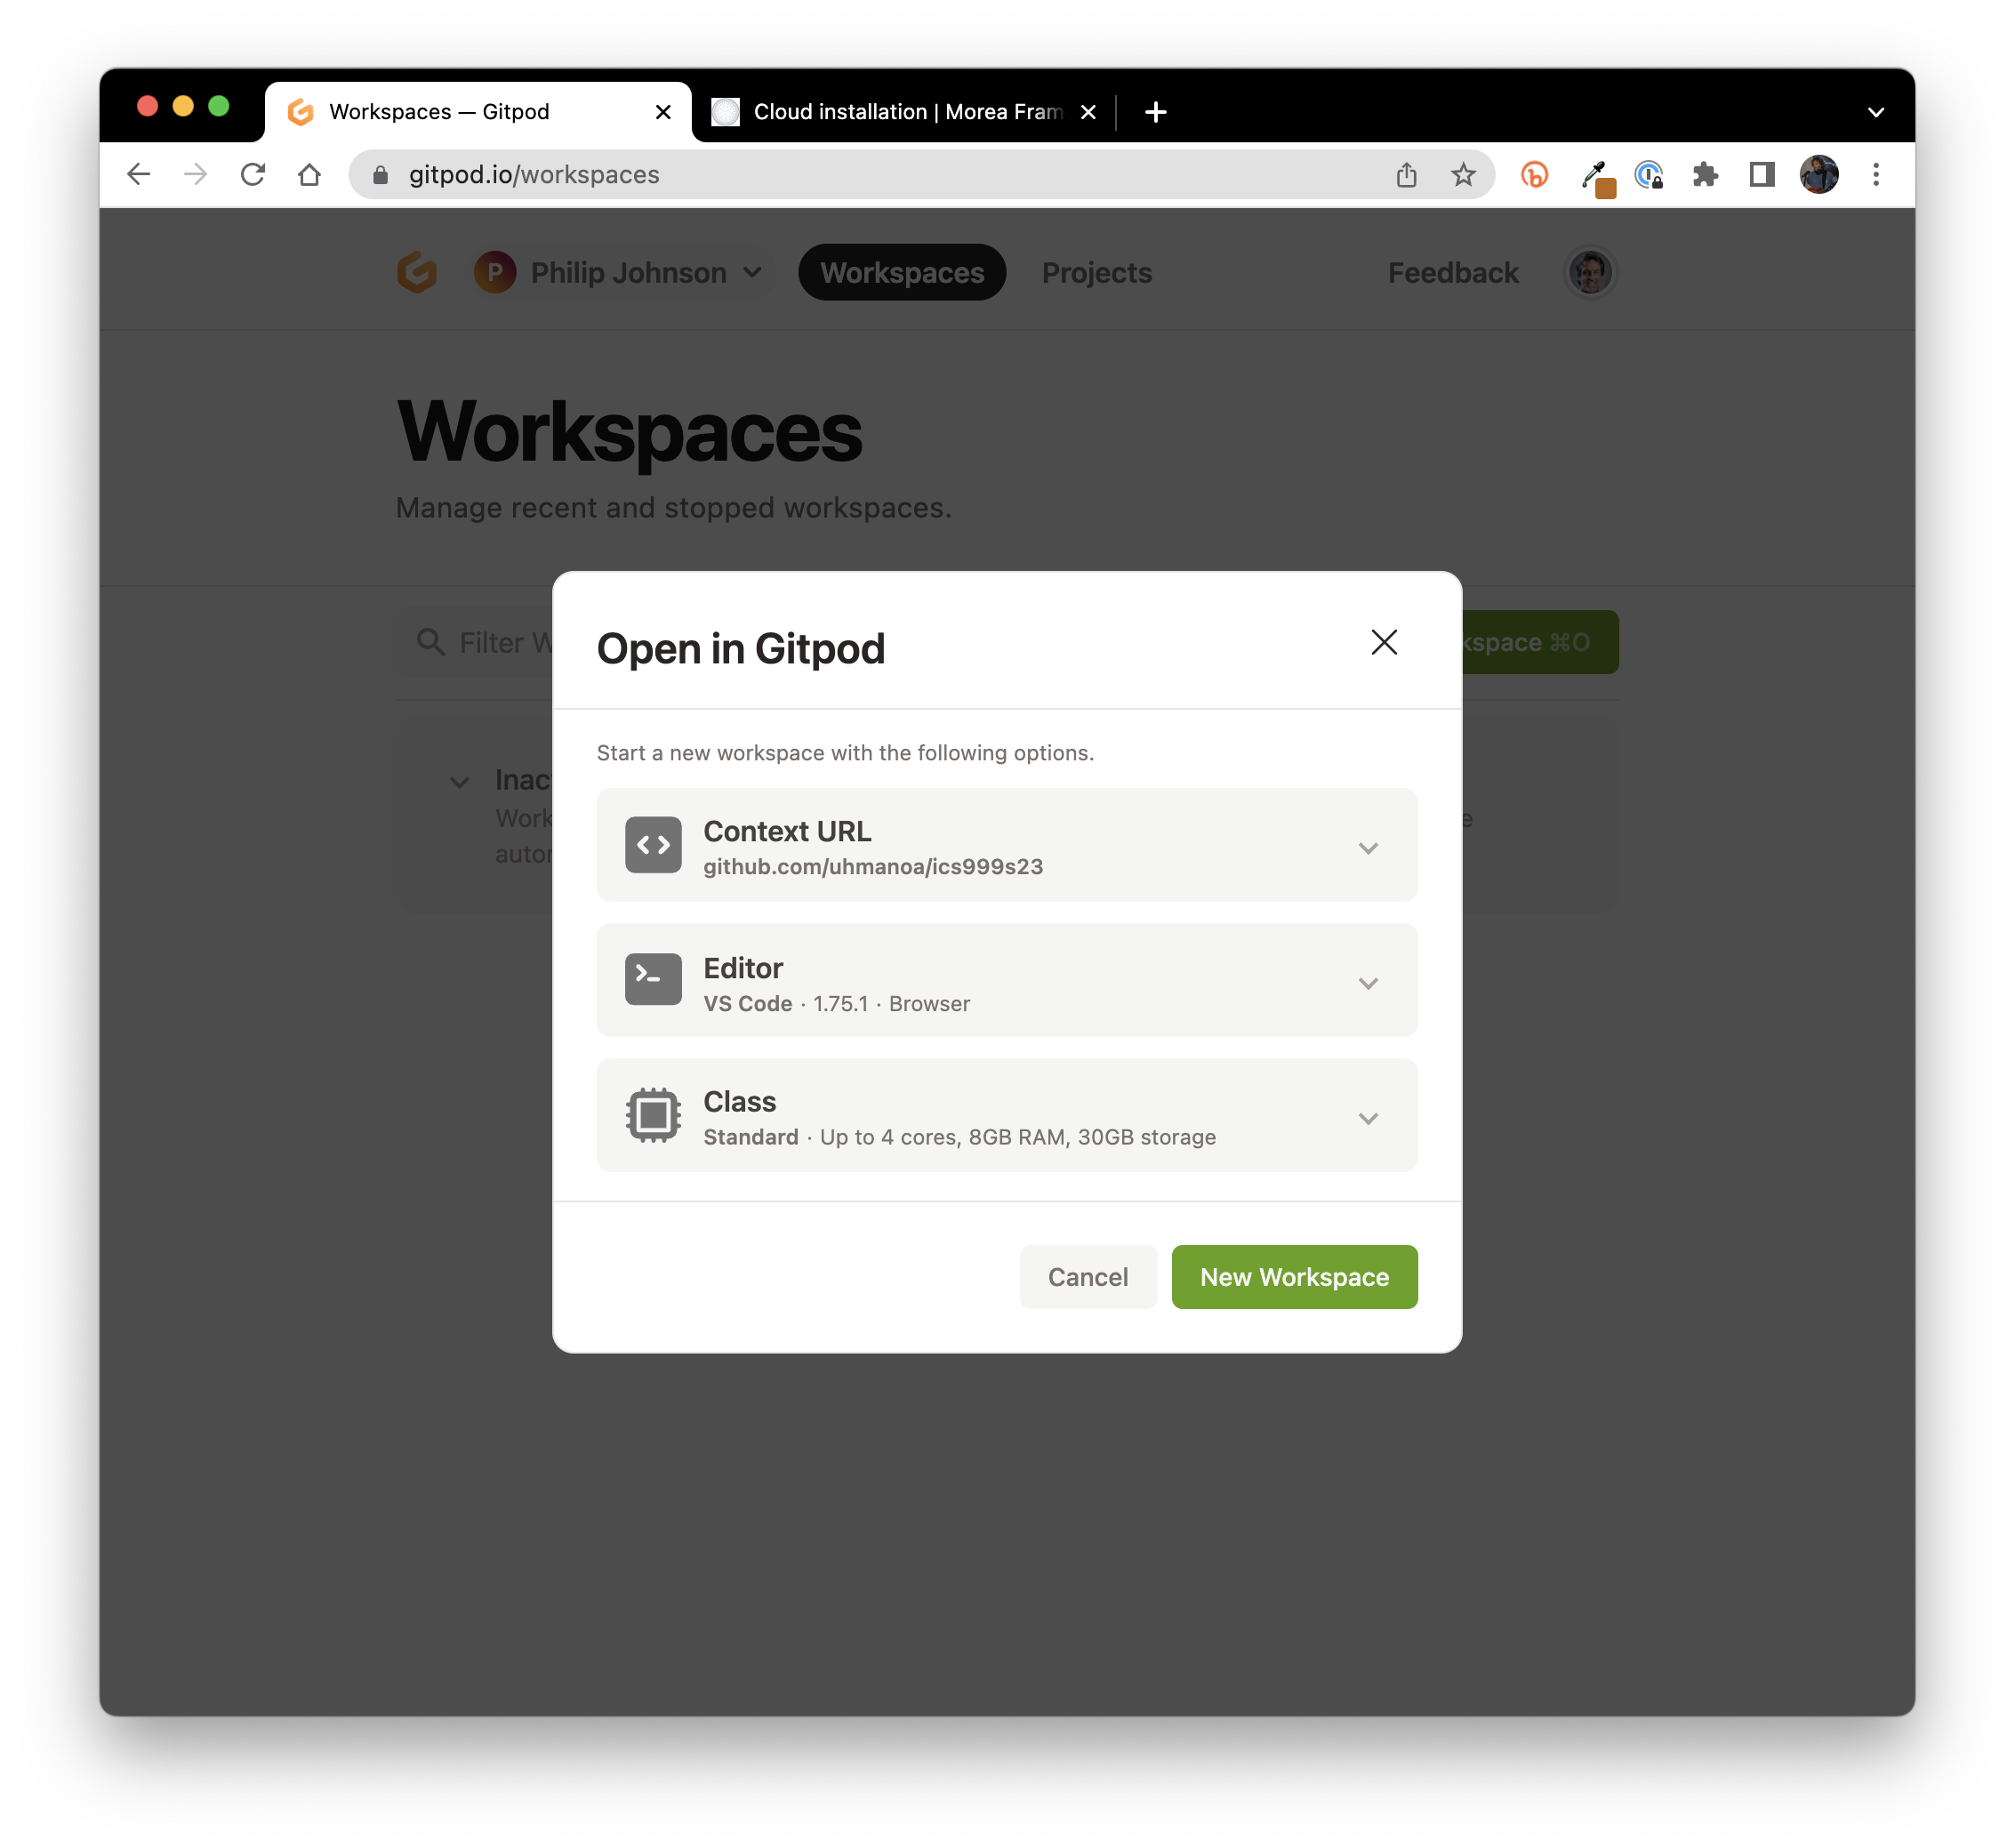
Notice that the "Context URL" points to your Morea repo. Now click "New Workspace". Gitpod will chug away for a while and then your browser will display a Visual Studio Code UI that should look similar to this:
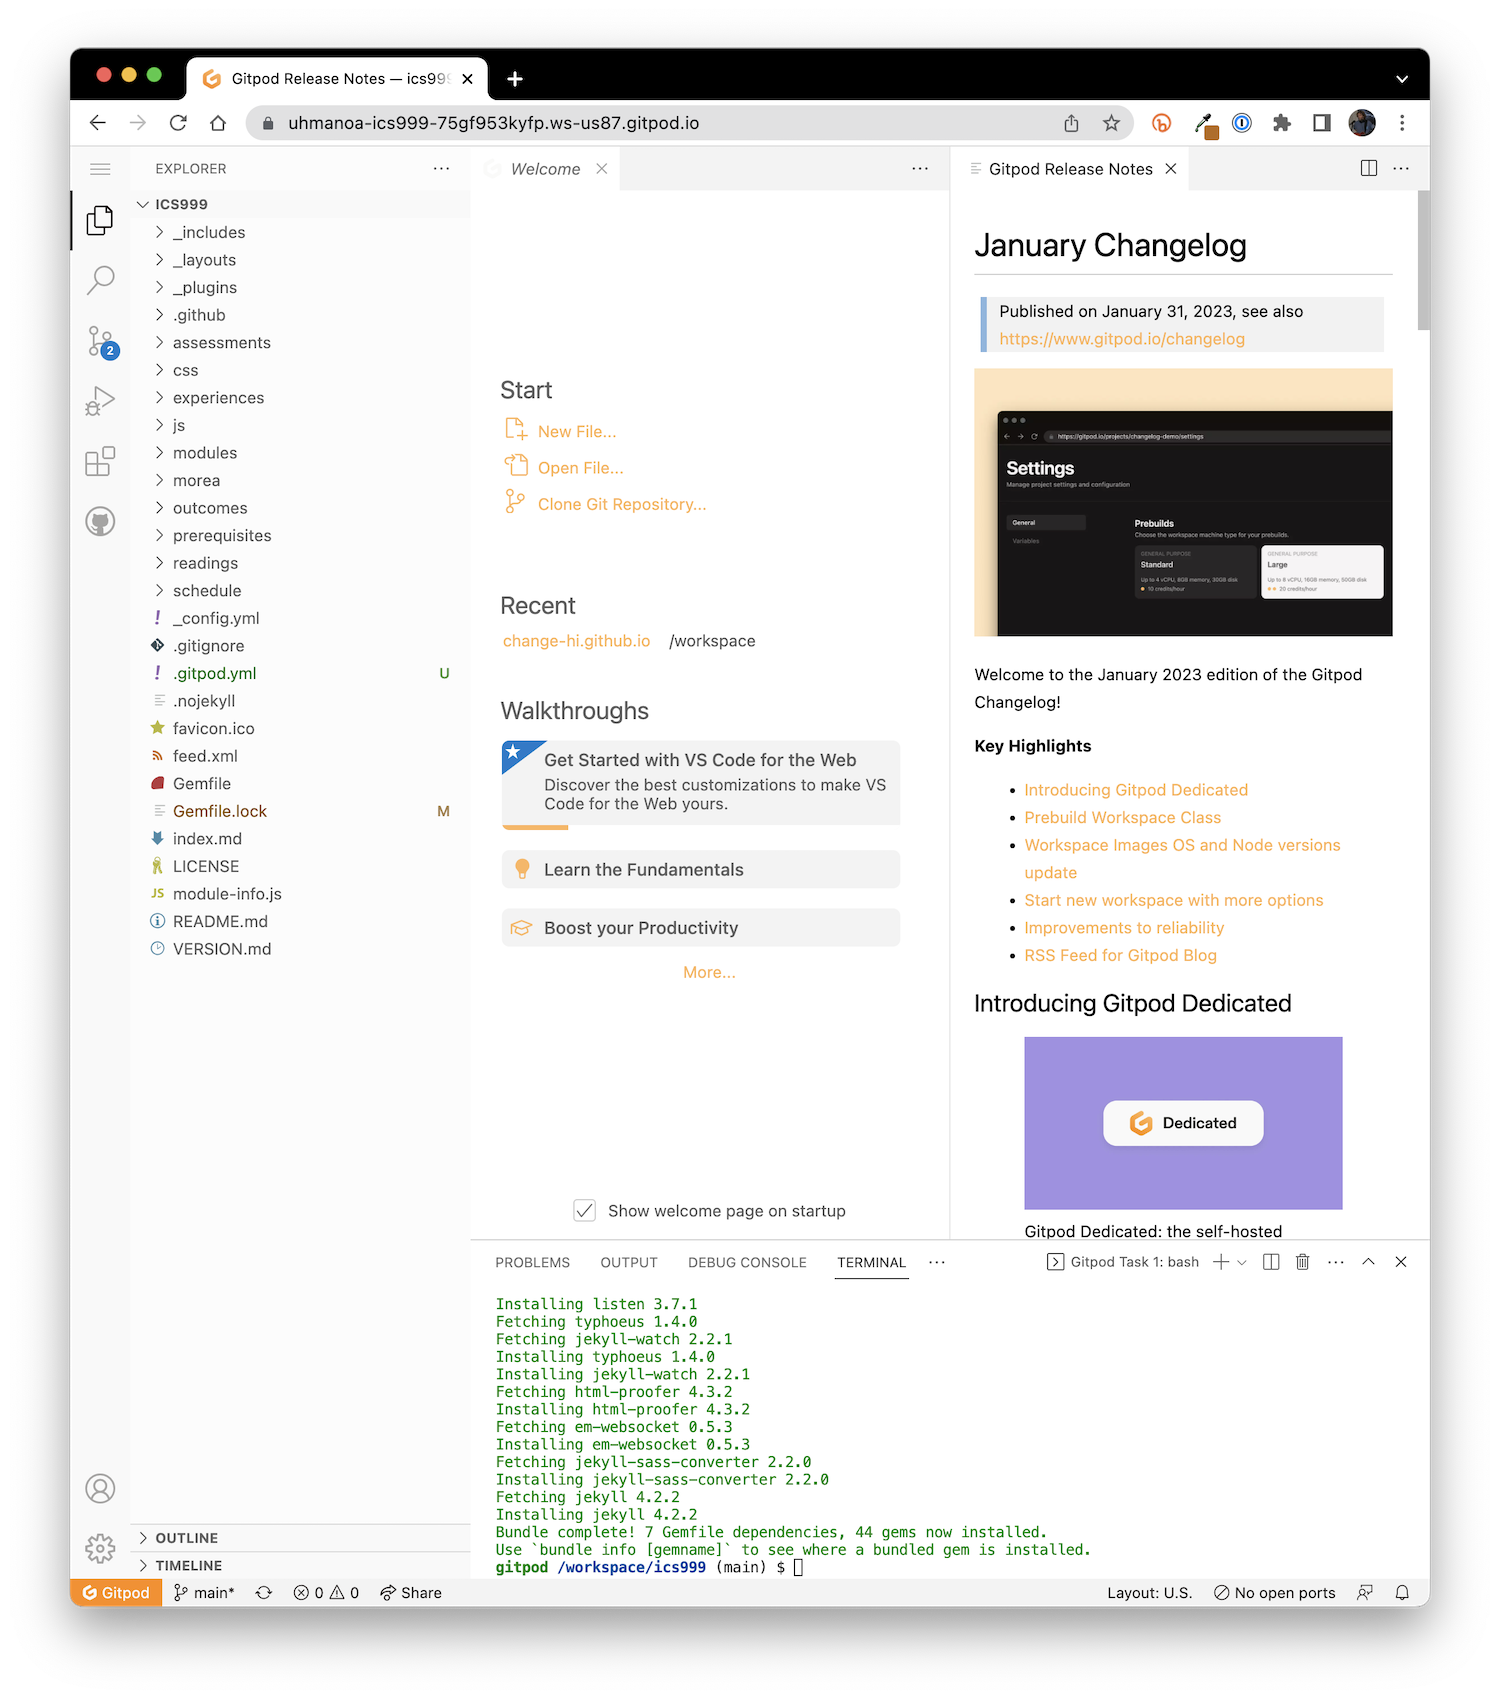
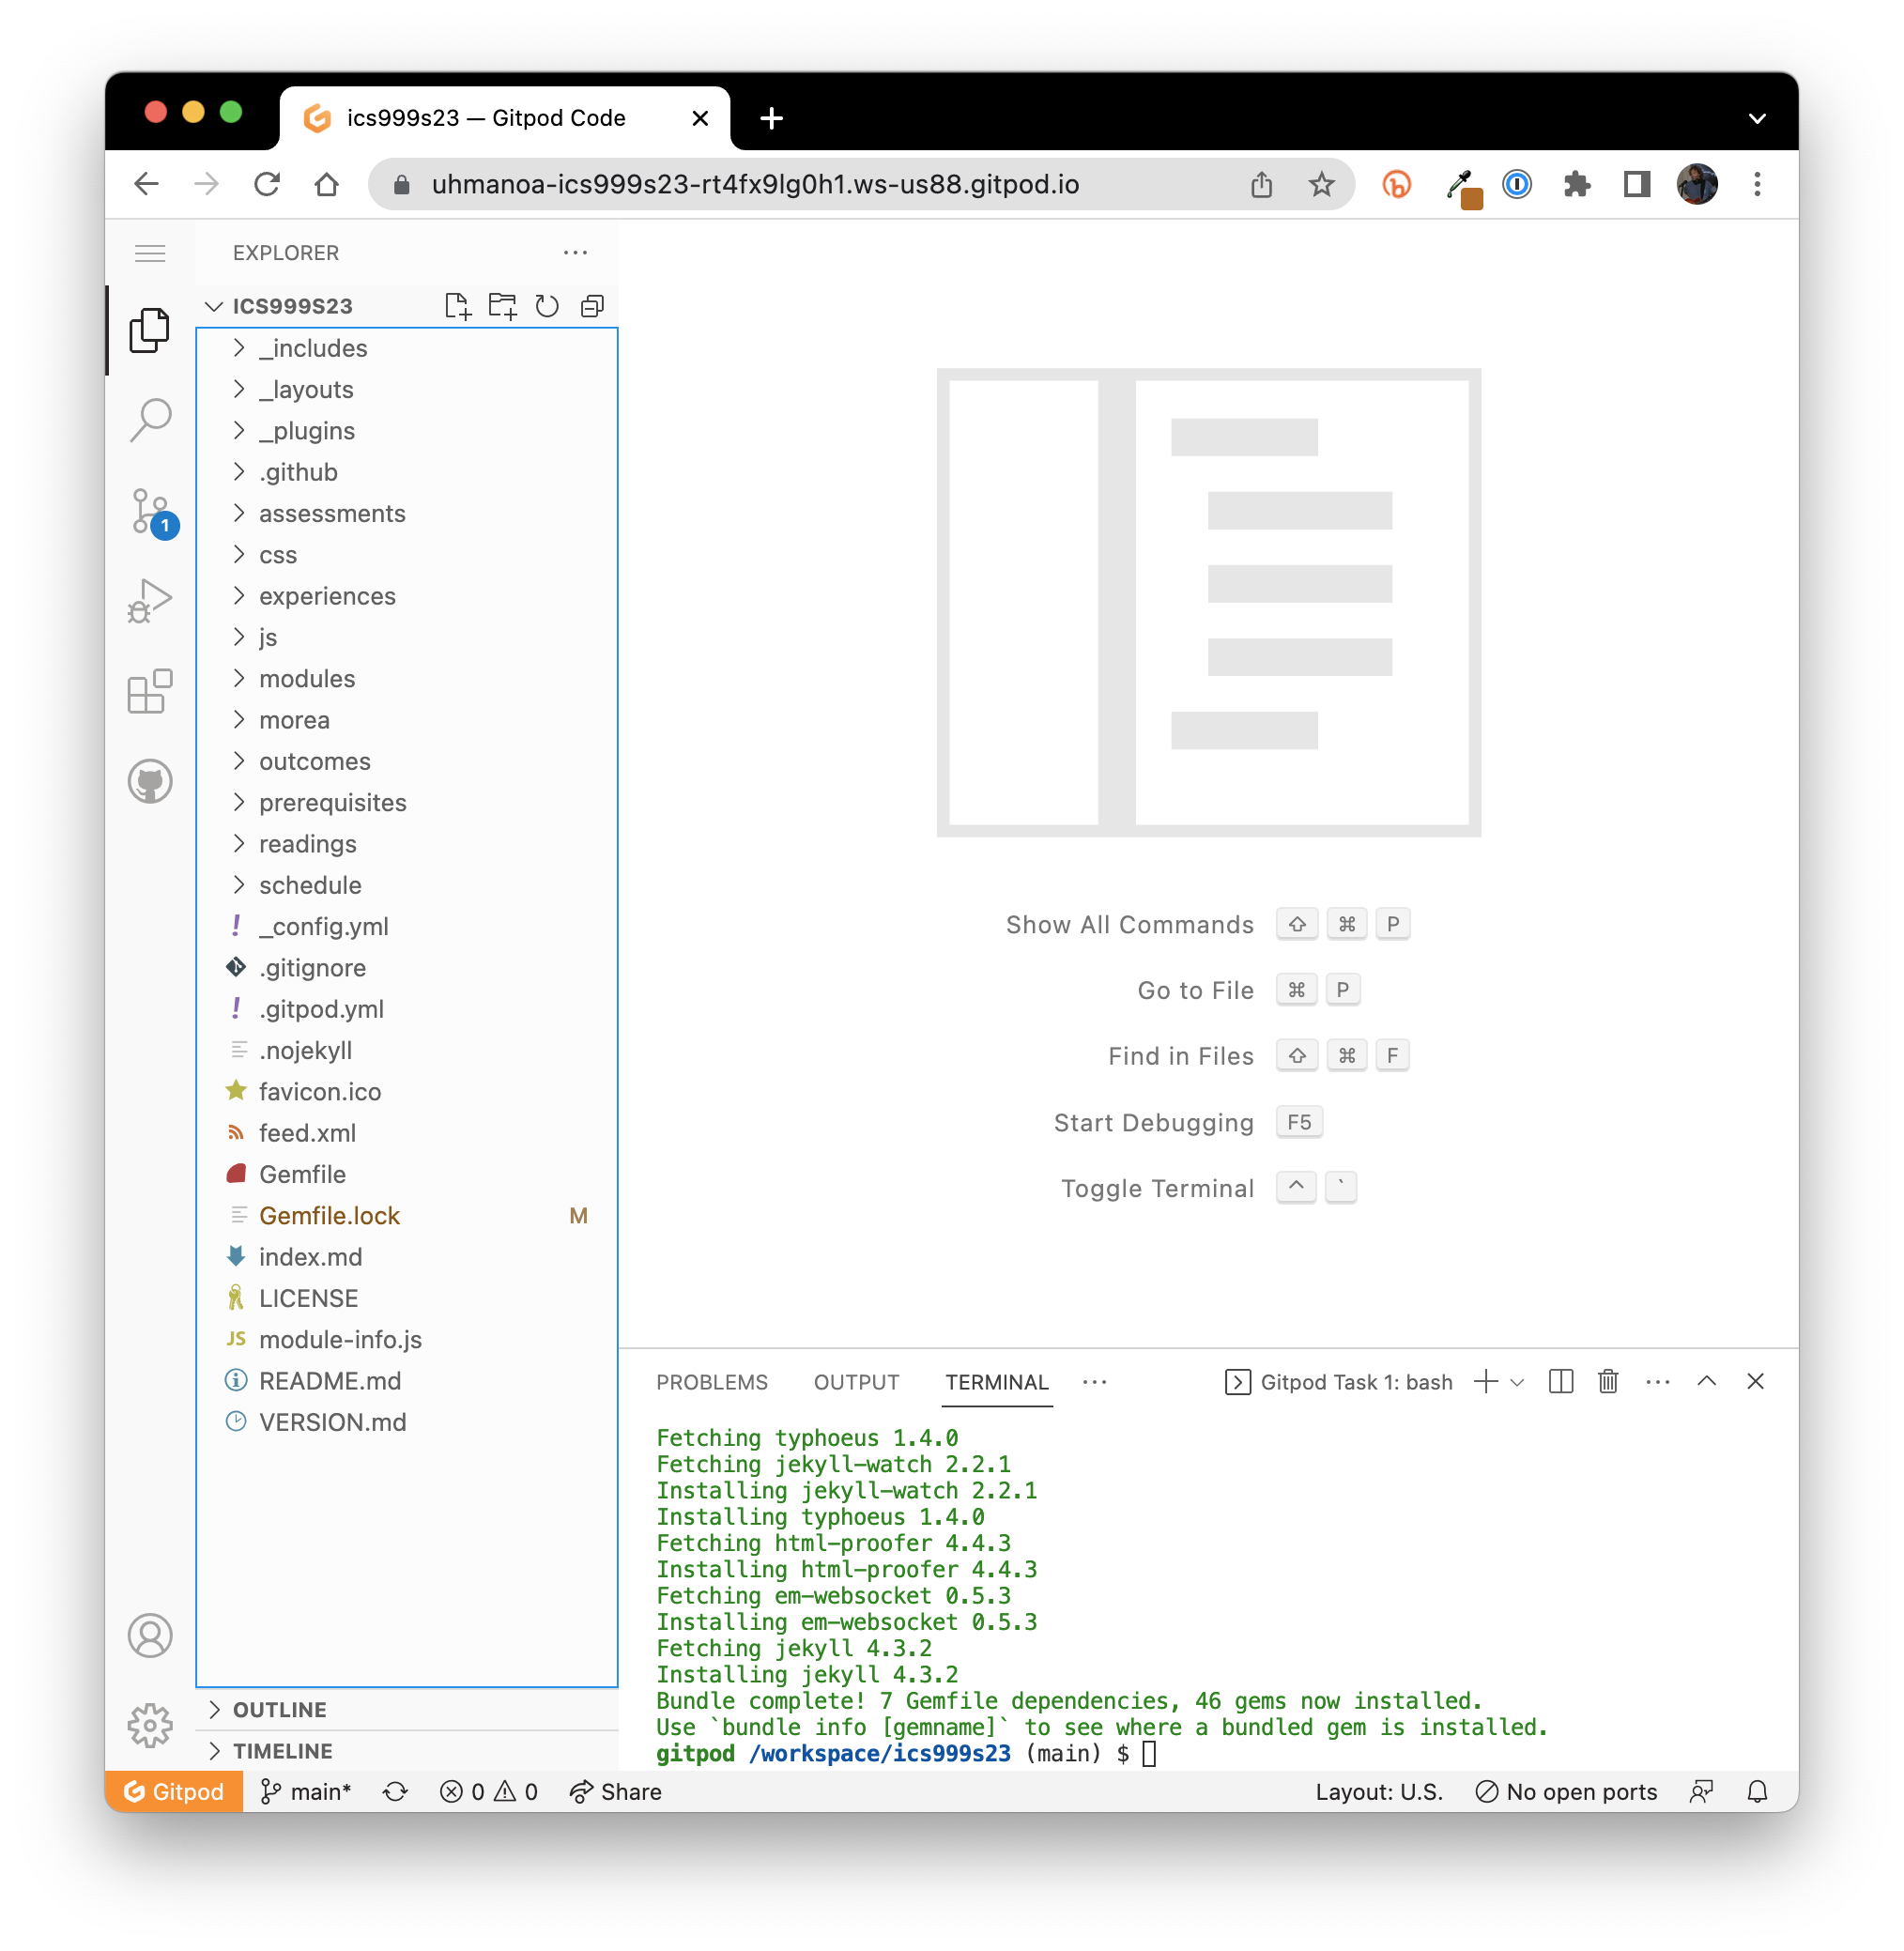
If you're like me, you will want to click the close "X" for the "Welcome" and "Gitpod release notes" windows to get rid of them:
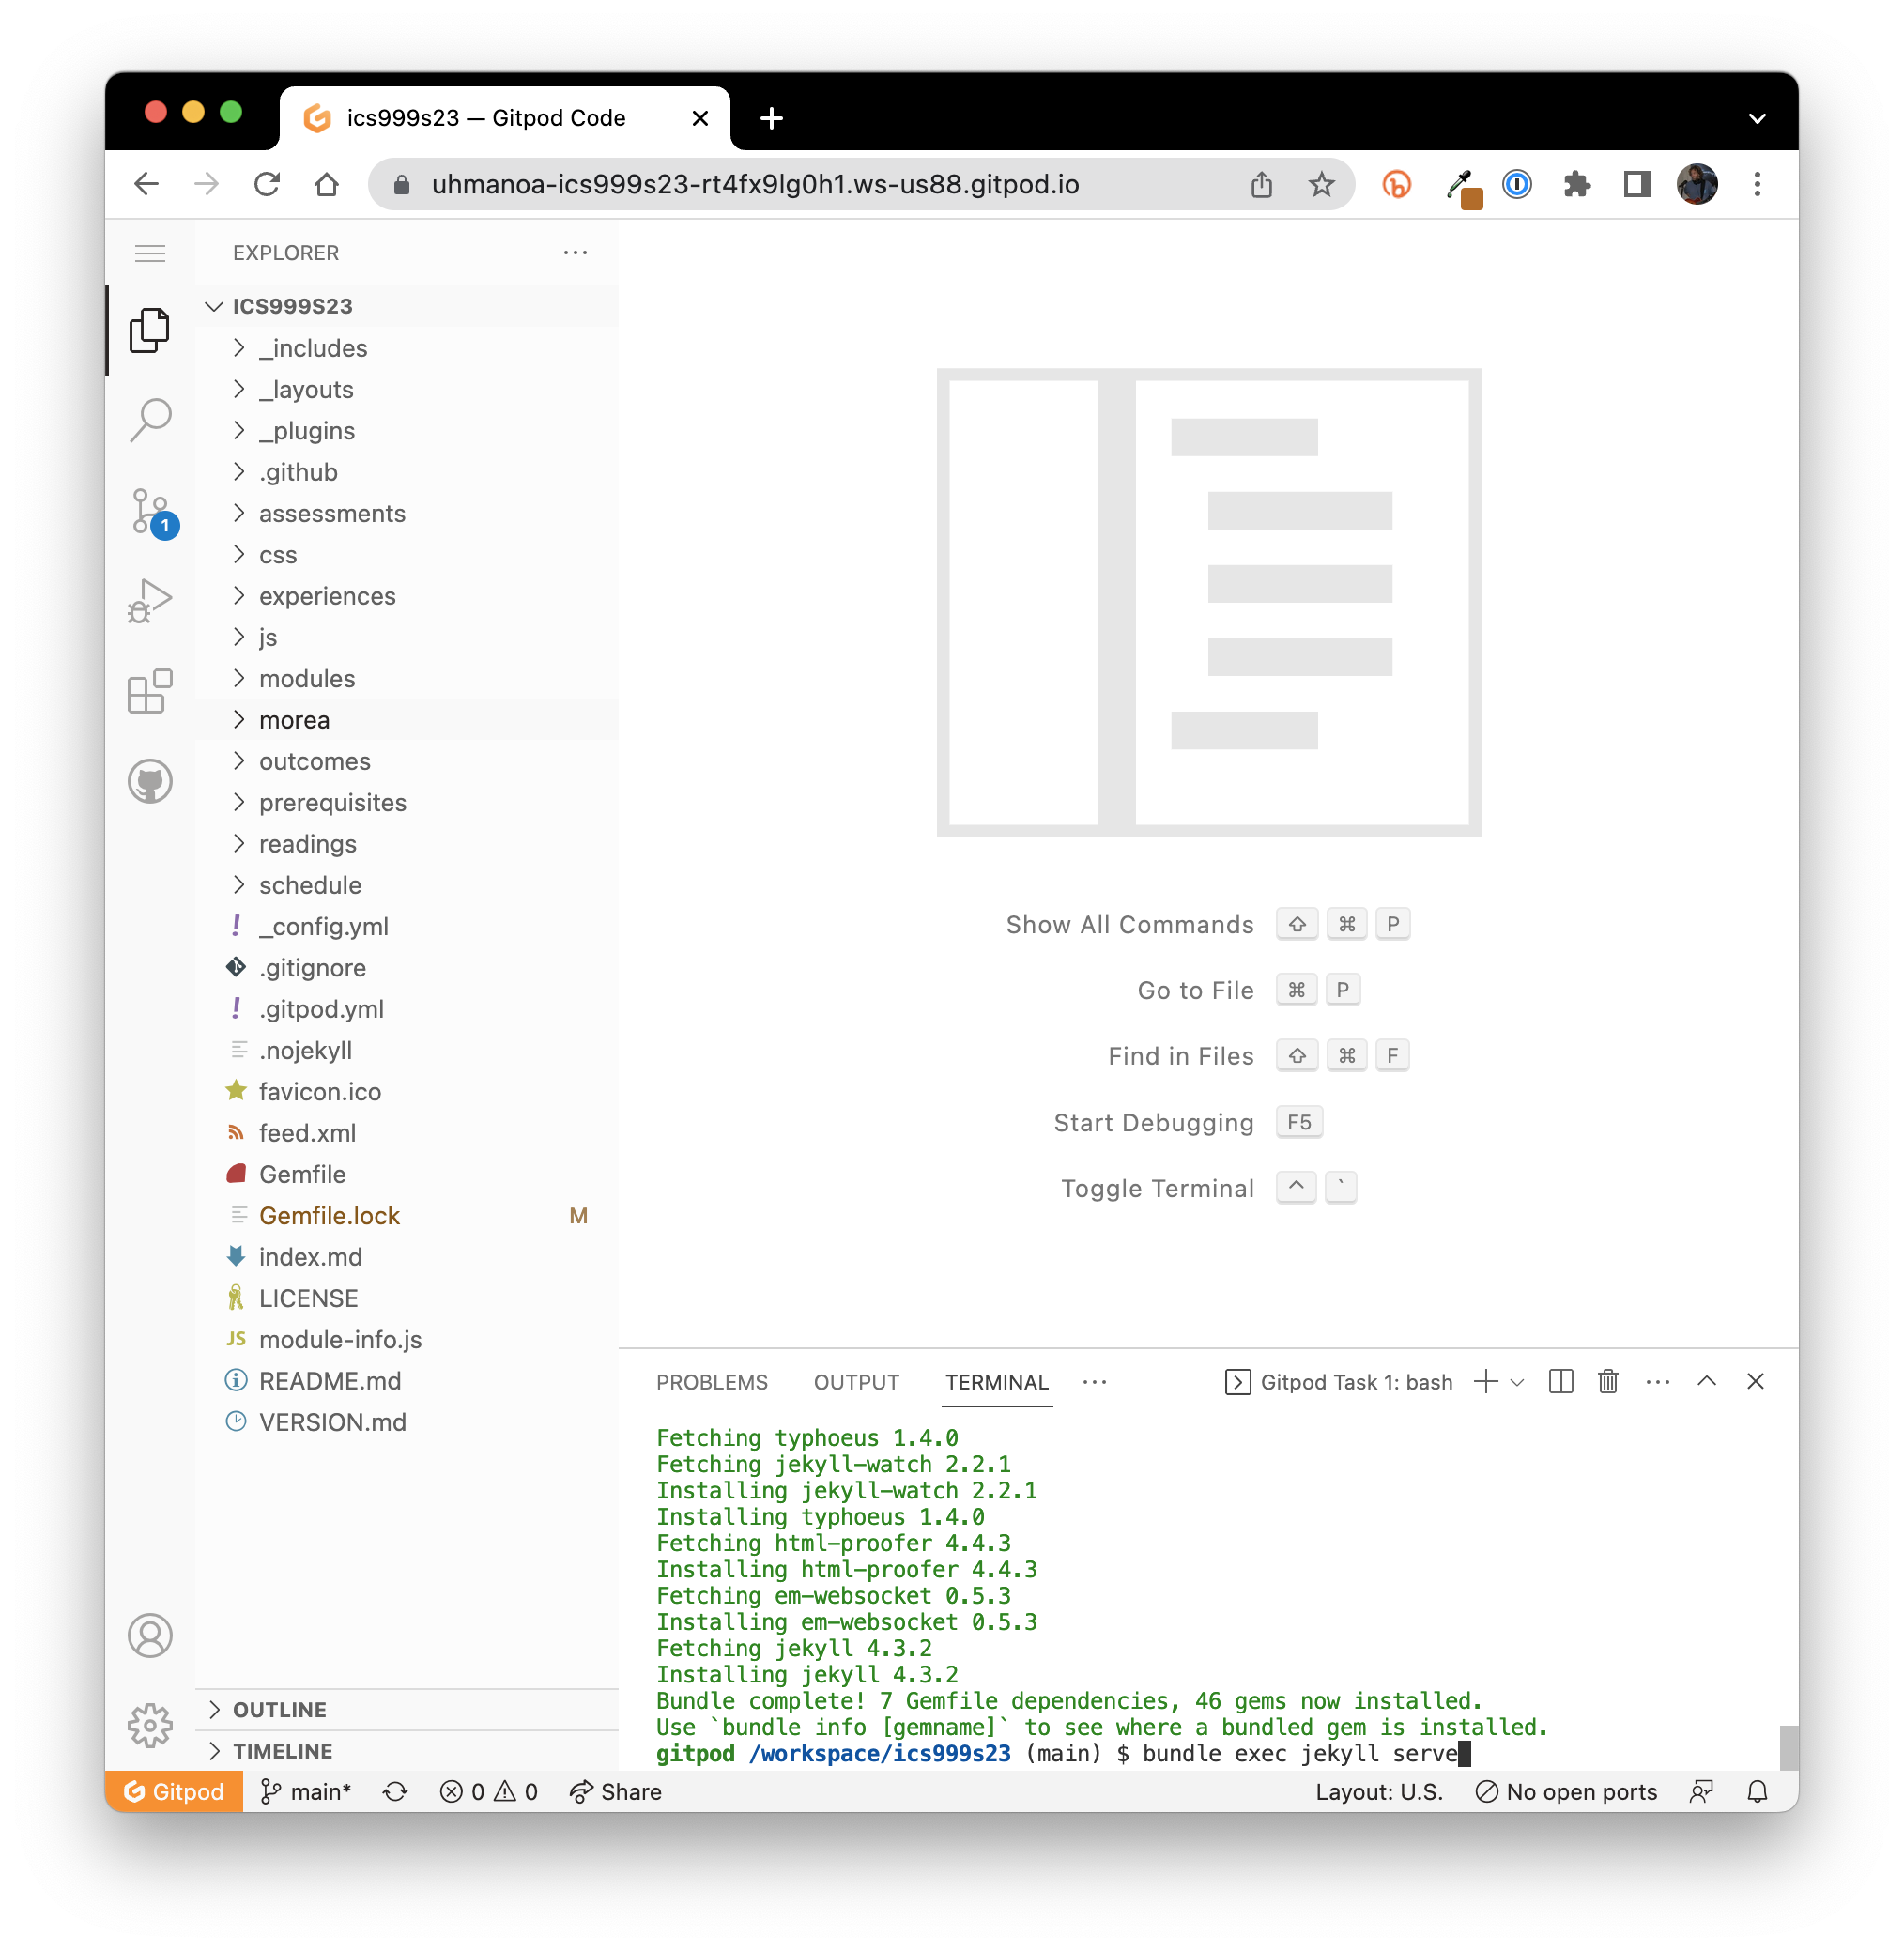
Build and display the site
To build and display the site, type "bundle exec jekyll serve" into the terminal window:
This will run jekyll and result in Gitpod asking permission to make a service public on port 4000:
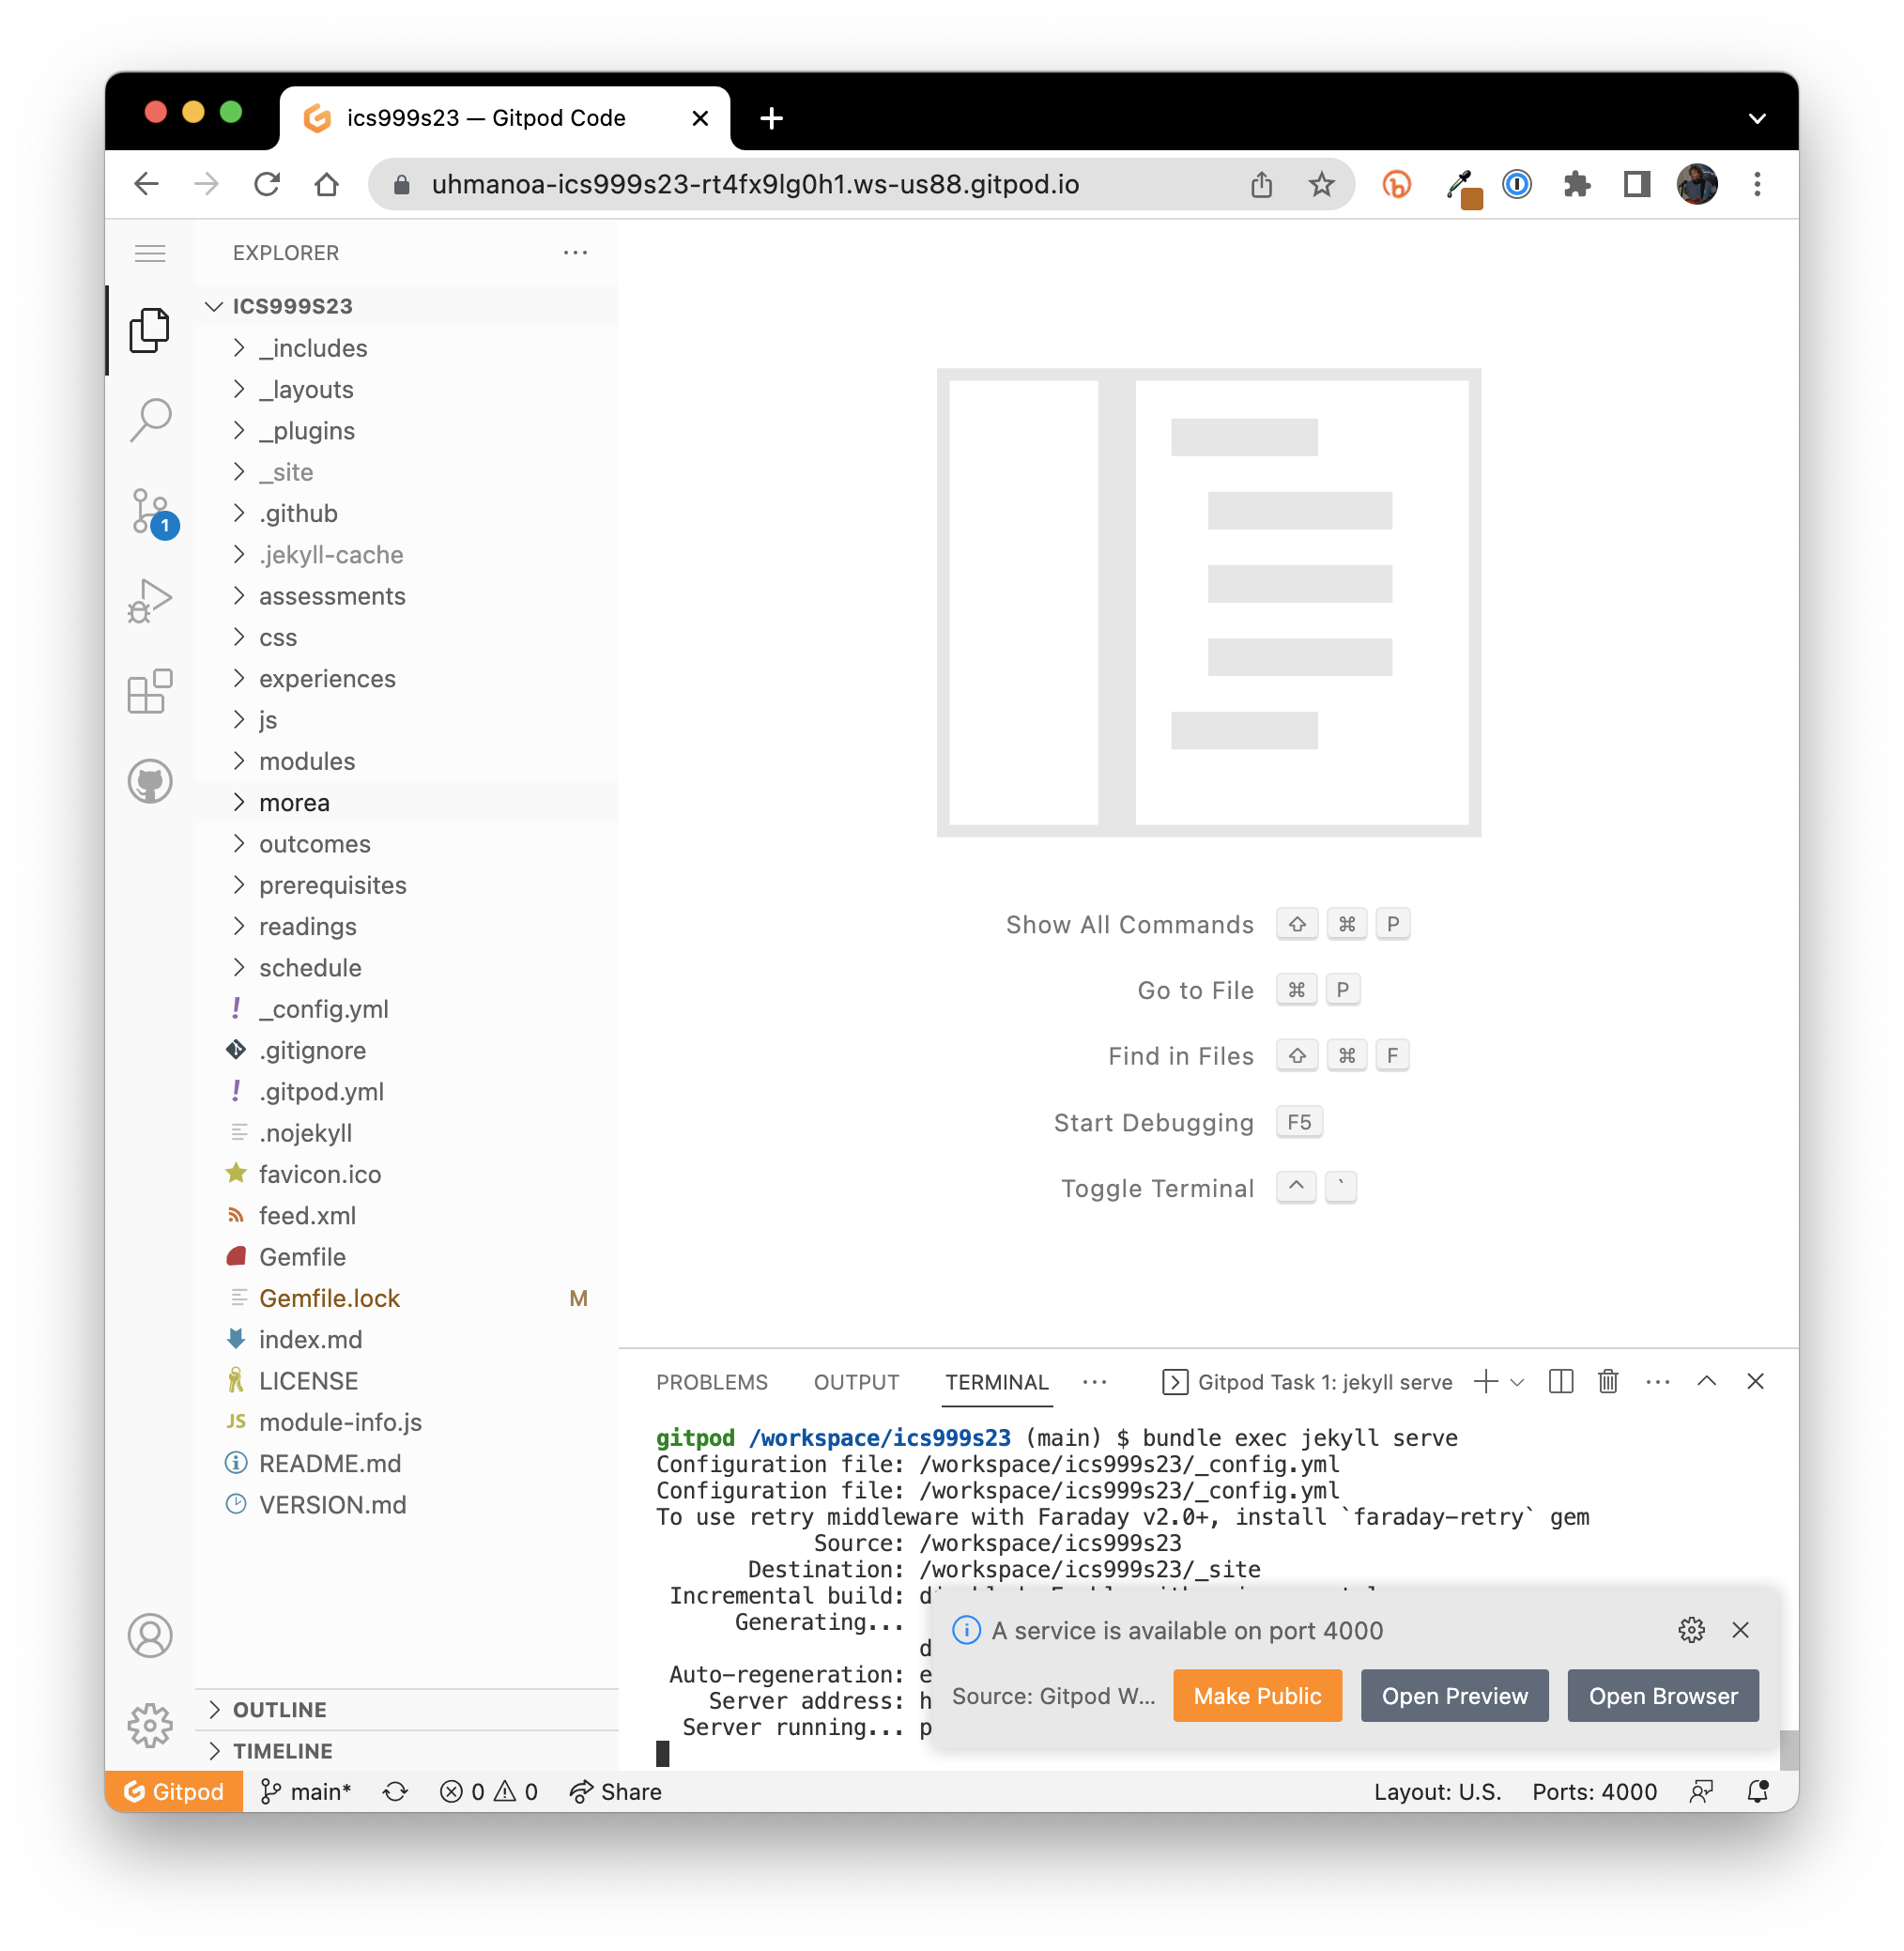
Click "Make public" to proceed. Now you can click on the link to display the page:

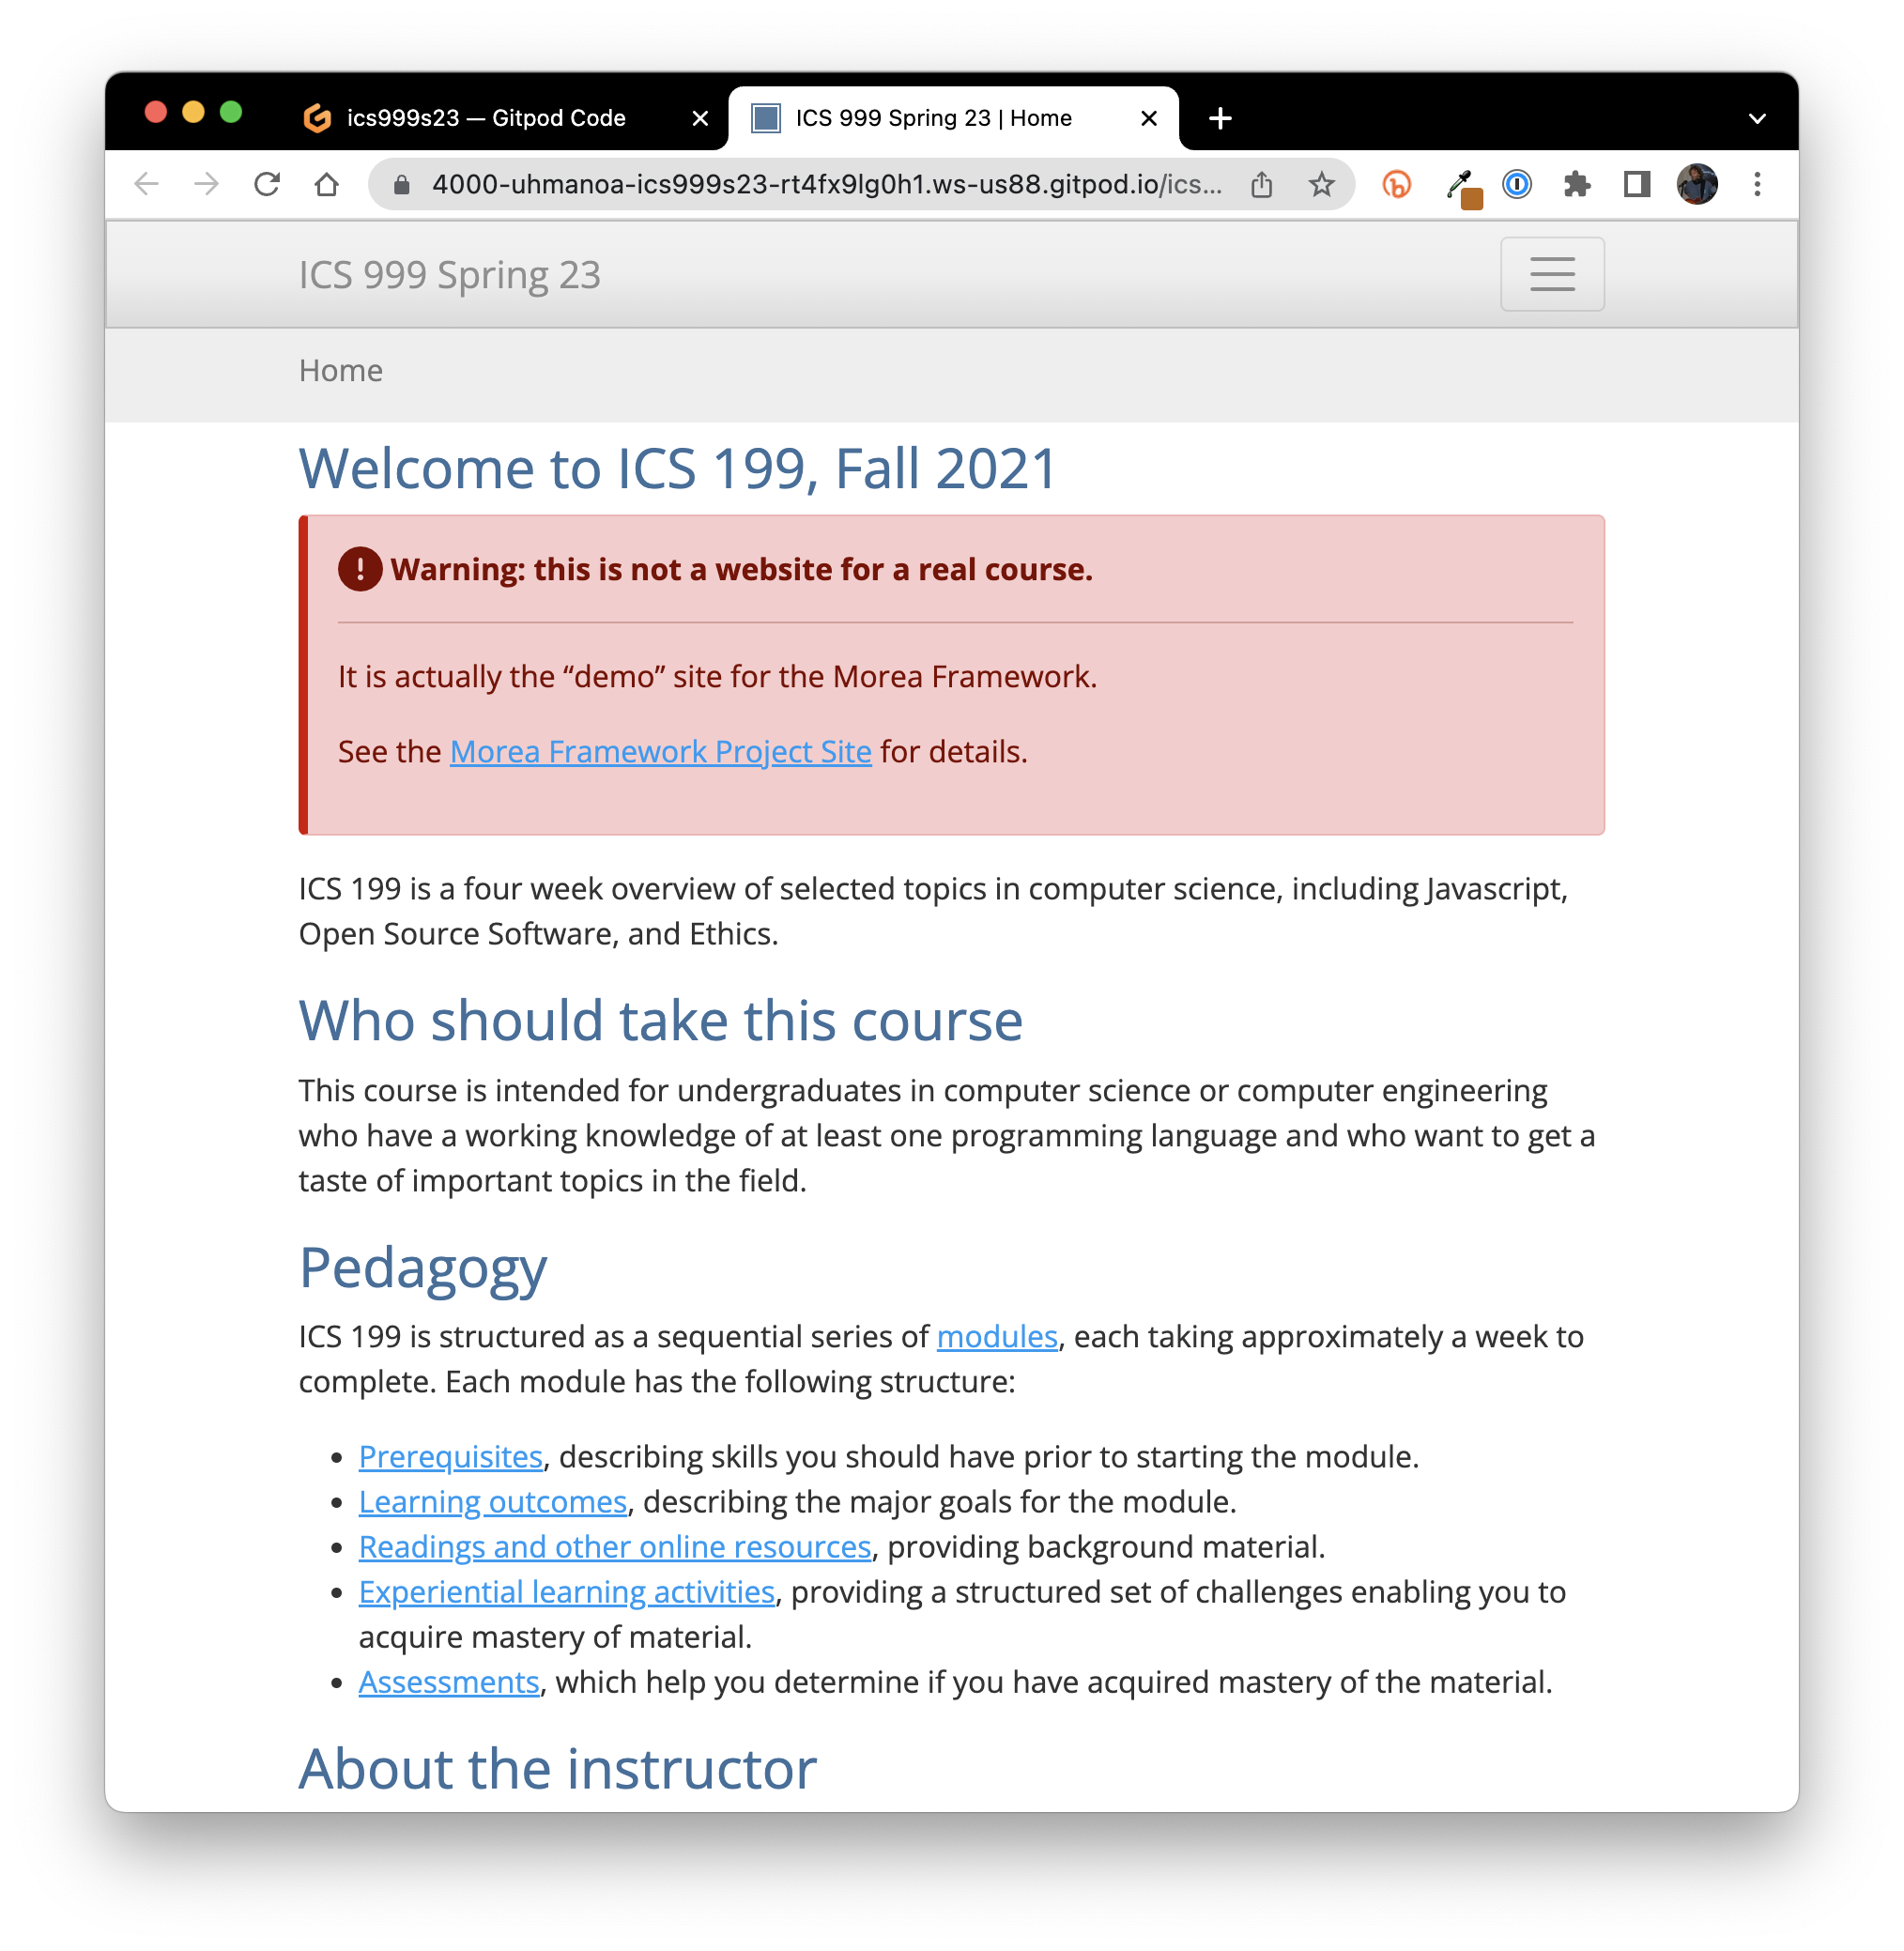
And the home page of your site will be displayed in a new browser tab:
We're installed and ready to go! Please click on the Next button below for instructions on how to continue with development.